Due to a ransomware attack, the wiki was reverted to a July 2022 version. . We apologize for the lack of a more recent valid backup.
...
- Go to the ONOS project JIRA, and log in with your account. You will be taken to the Project Dashboard.

Search for Starter tasks by going to Issues > Search for issues. This will take you to the Search page.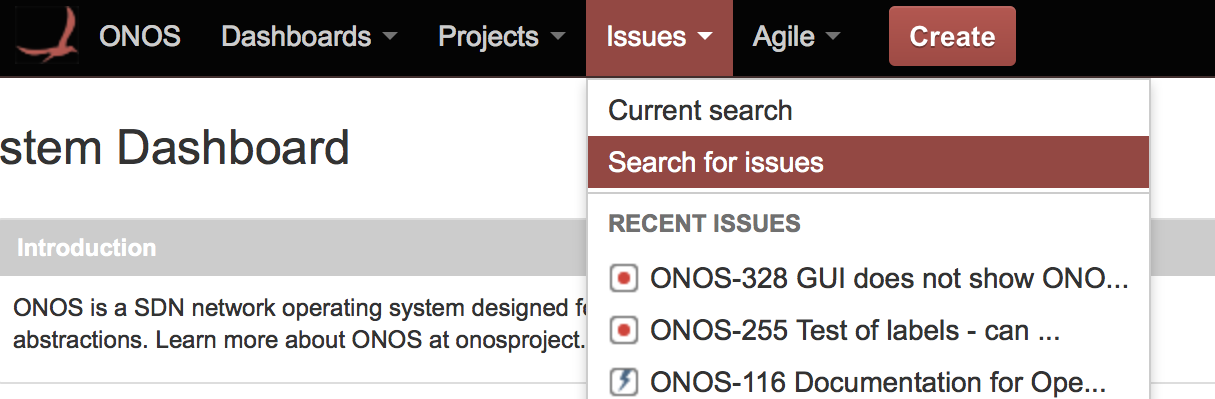
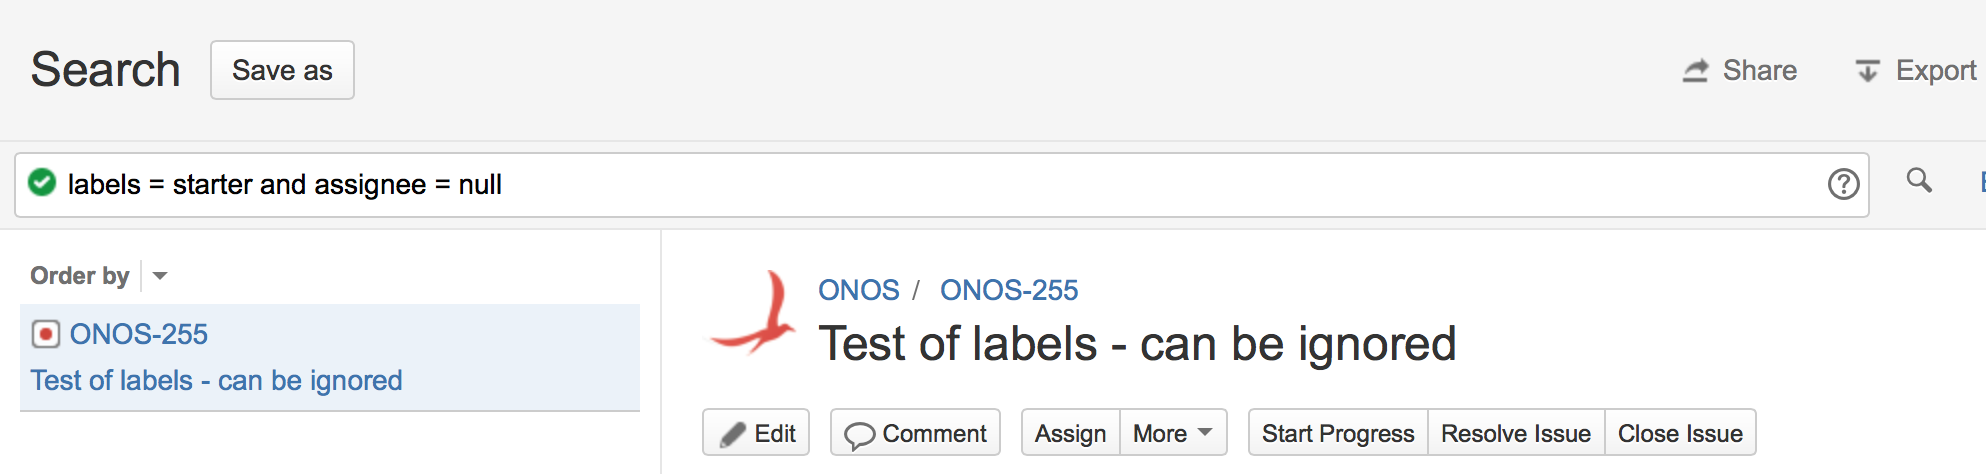
At the search bar, enter From there, follow Advanced Searching and search for labels = starter and assignee = null , and hit enternull. This will bring up all Starter tasks that are unassigned. Each task has a name of format format ONOS-[number] (ONOS-255 for our example). Selecting a task will display its details.
If you have a certain type of task you would like to work on, such as testing, you may also filter the search by epic name by appending "Epic Name" = <Epic>. For example:
Code Block language text labels = starter and assignee = null and "Epic Name" = Test
Will return all available Starter tasks related to testing.
The available Epic names can be found by going to Agile > ONOS Scrum Board and then to Plan (1 in the left figure below) and clicking the Epic sidebar to the left (2 in same figure). It should display a list of Epics (categories), as shown in the right figure below.
Section Follow Finding Current Epics to view available epics.
Column width 705px 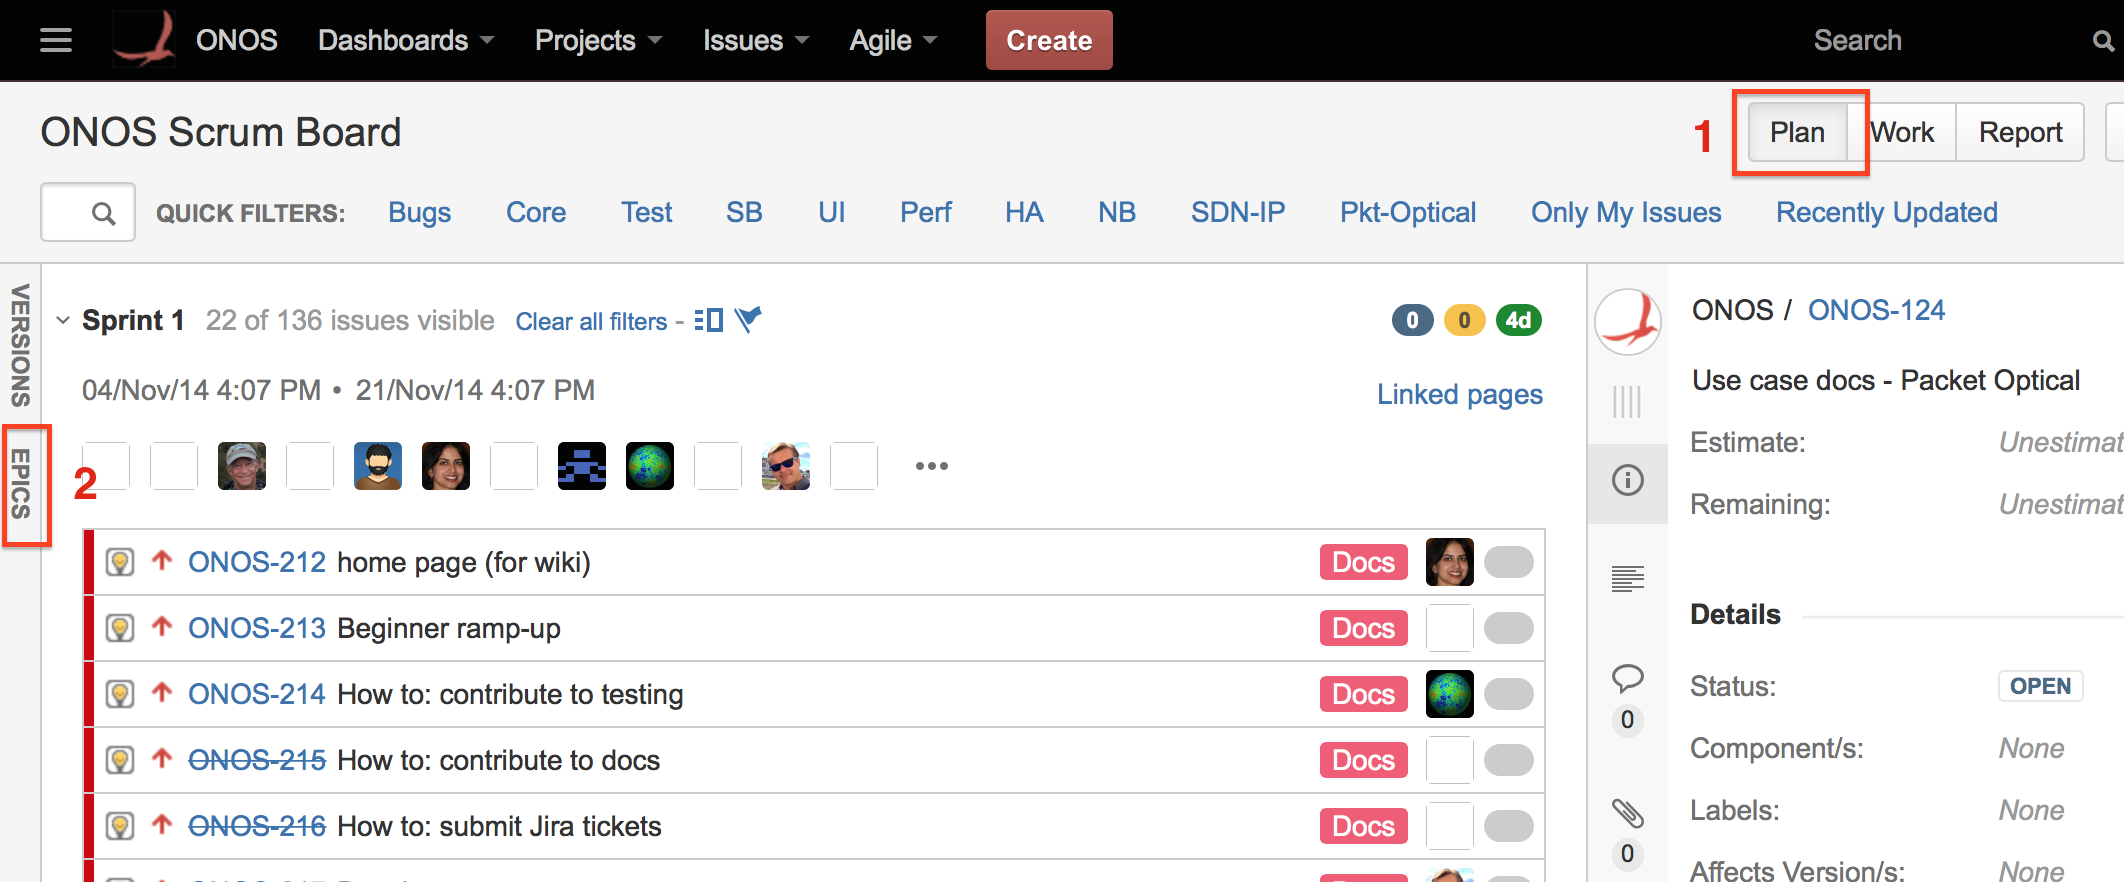
Column 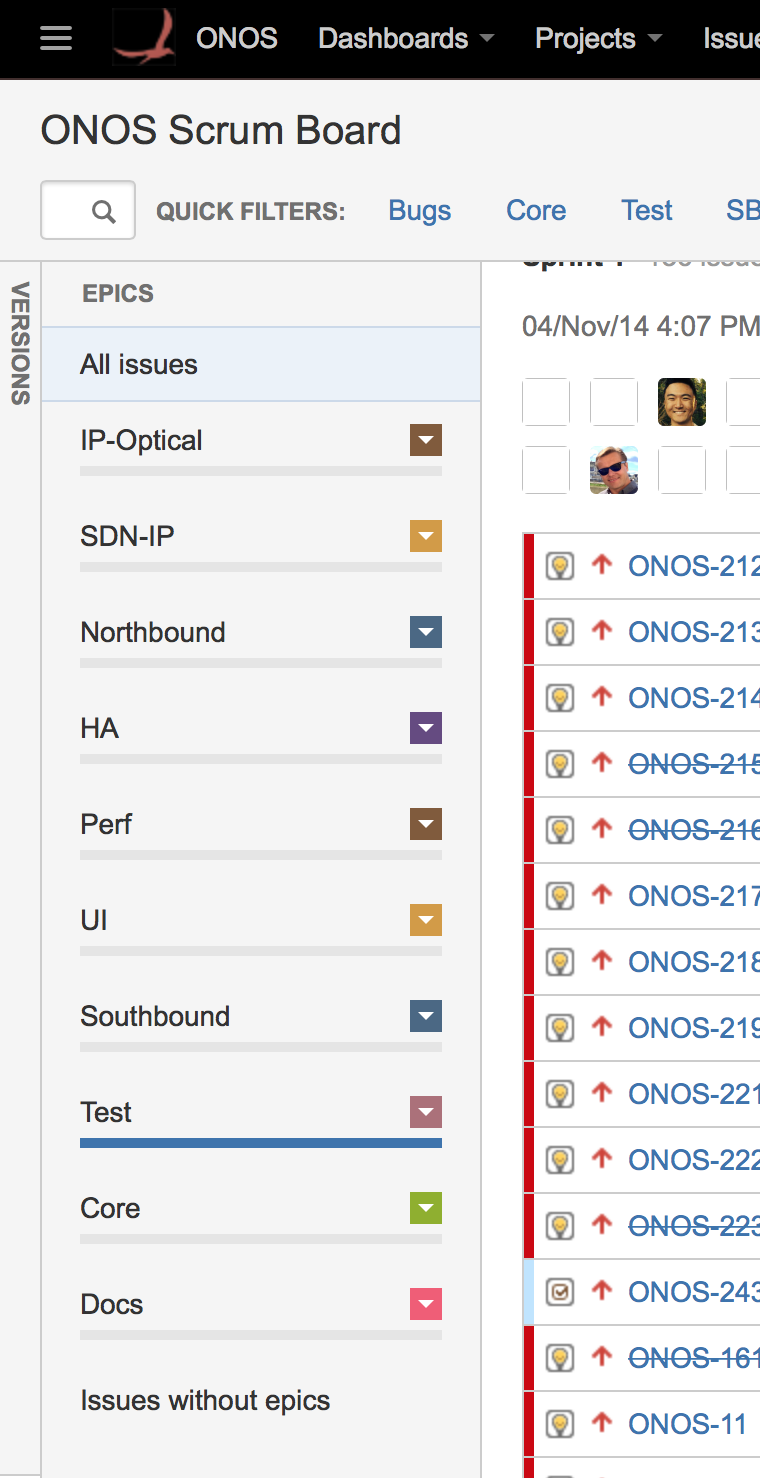
- Once you find an issue that you would like to work on, assign it to yourself by selecting "Assign to me" under People. Your name should appear under the Assignee field, and you should see a message "ONOS-[number] has been assigned".
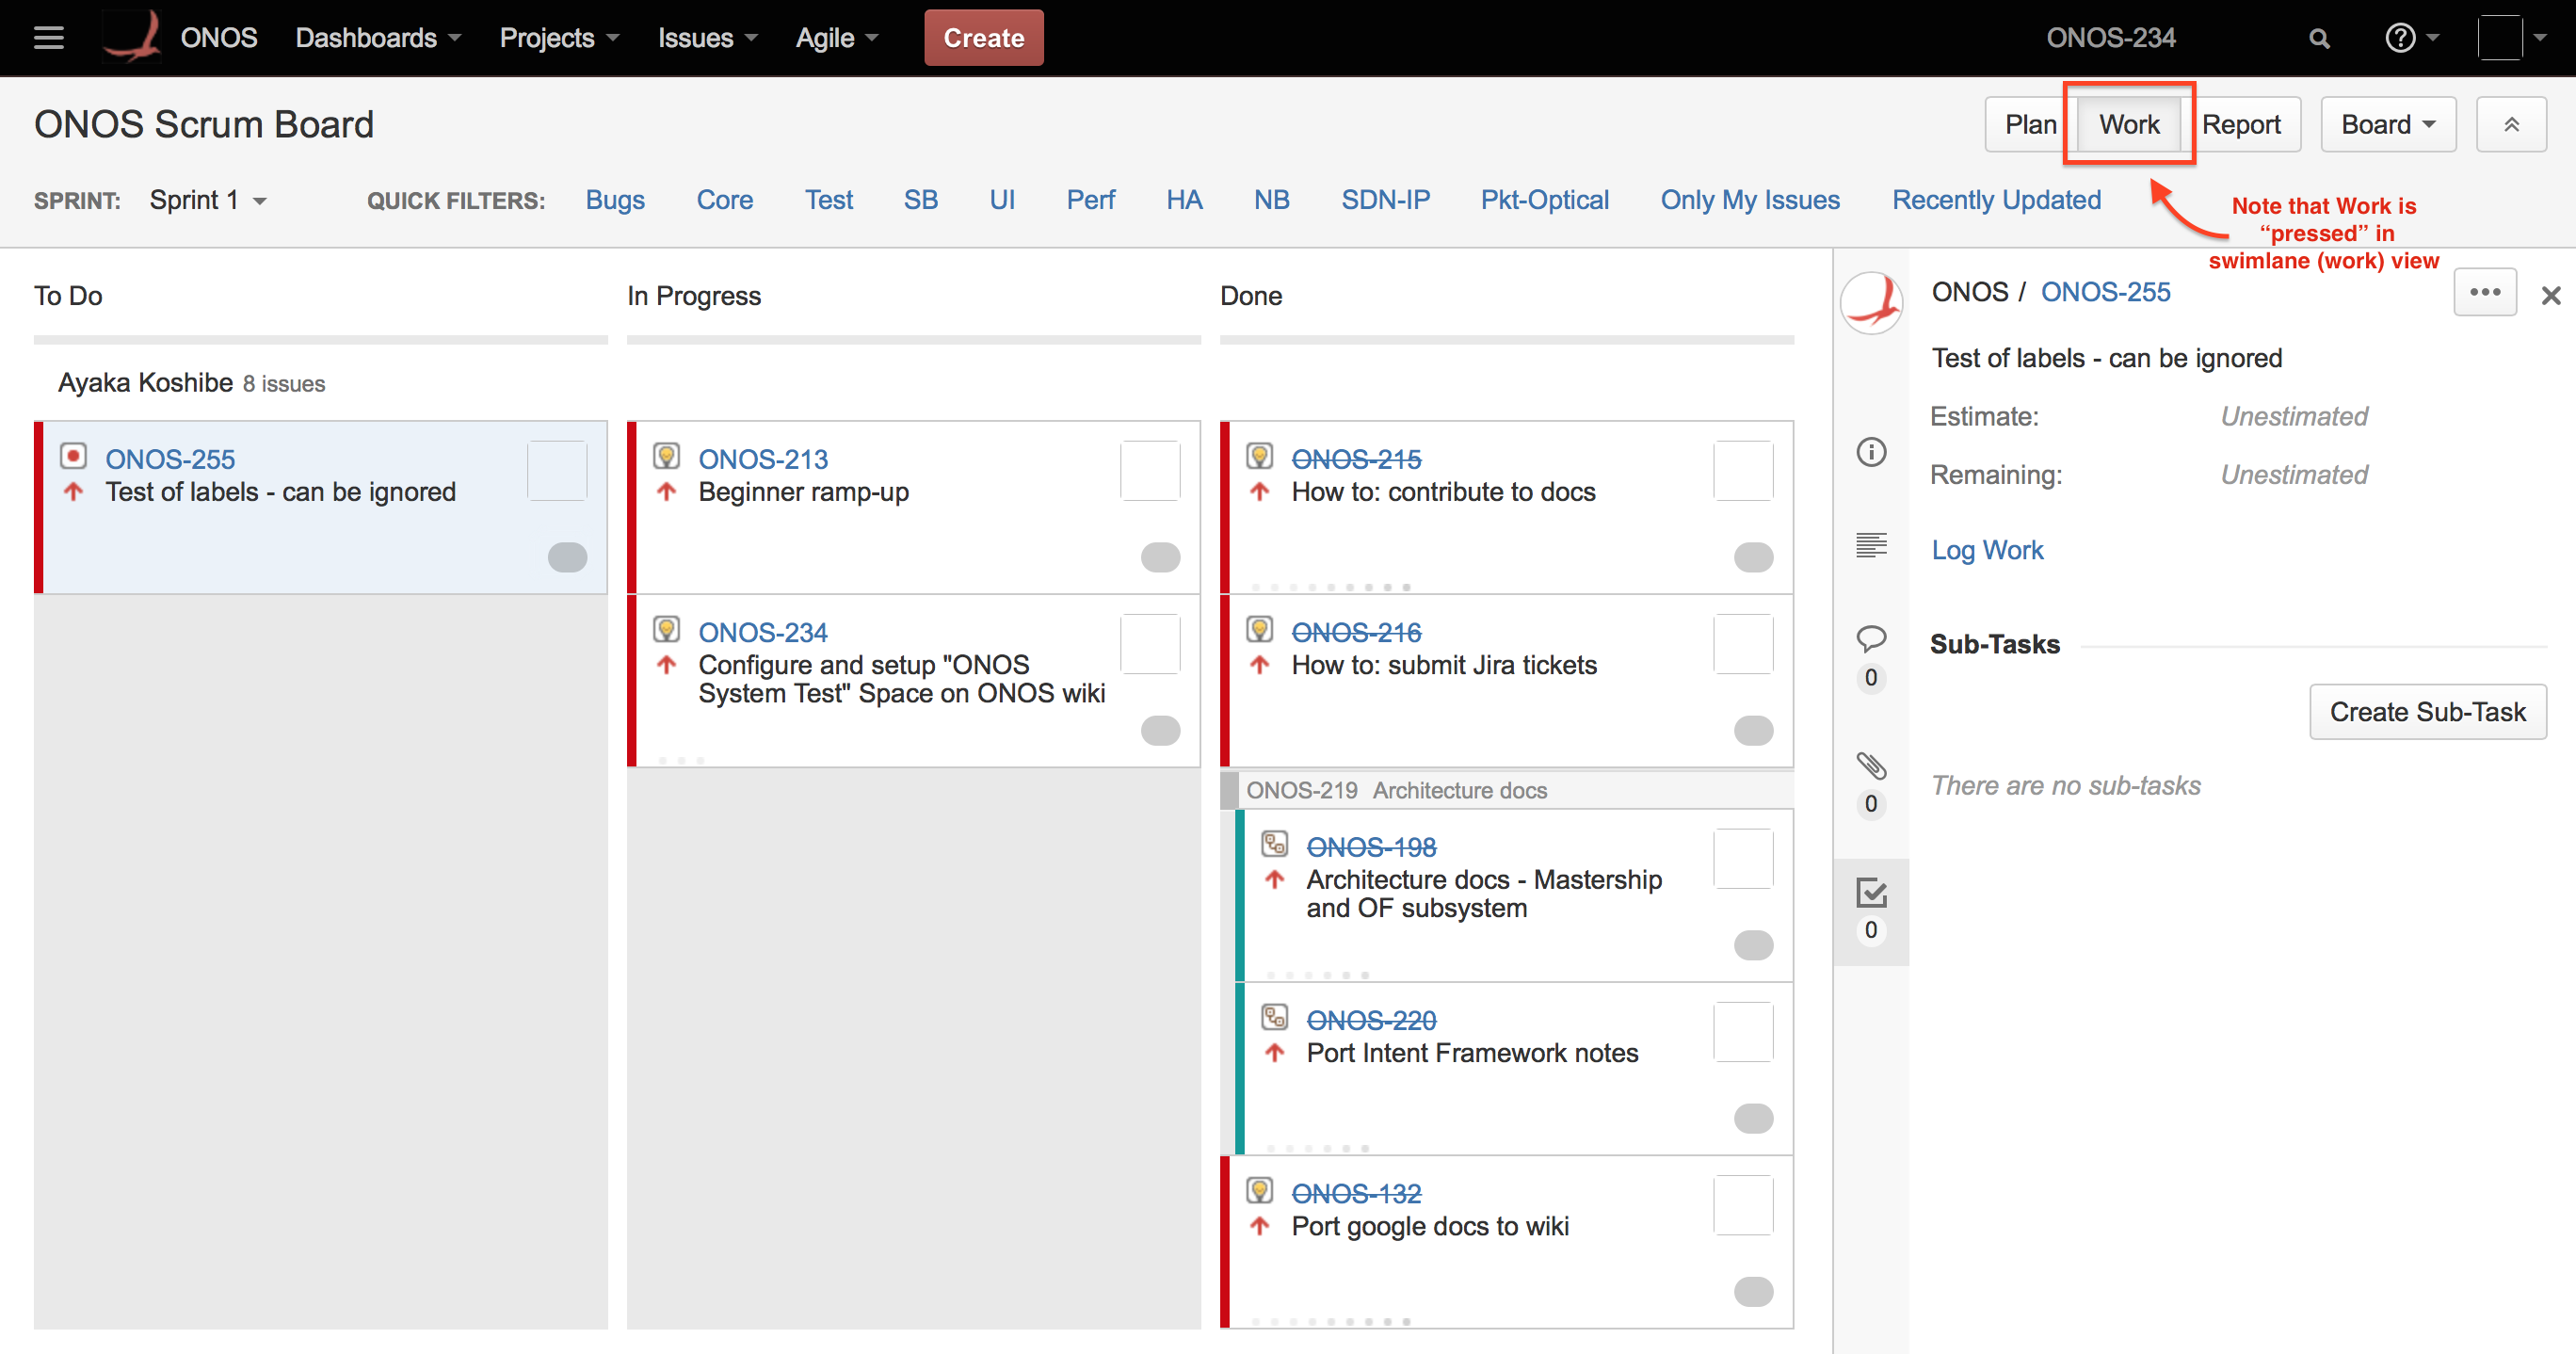
- To verify that you now own the issue, go to Agile > ONOS Scrum Board. You will be taken to the Work view (swim lane) of the Scrum board, which shows the progress of all current tasks based on who is working on them. Your name should appear as one of the entries (they are alphabetical, so you may need to scroll a bit), with your new issue under the To Do column (the blue entry in the figure below). Selecting the issue will display its details in a sidebar to the right.
If your name or your task doesn't appear, select the Plan view, and search for your issue - it should appear as an entry under Backlog. Drag move your issue from Backlog to the dotted box for the current sprint (Sprint 1 in the figure below).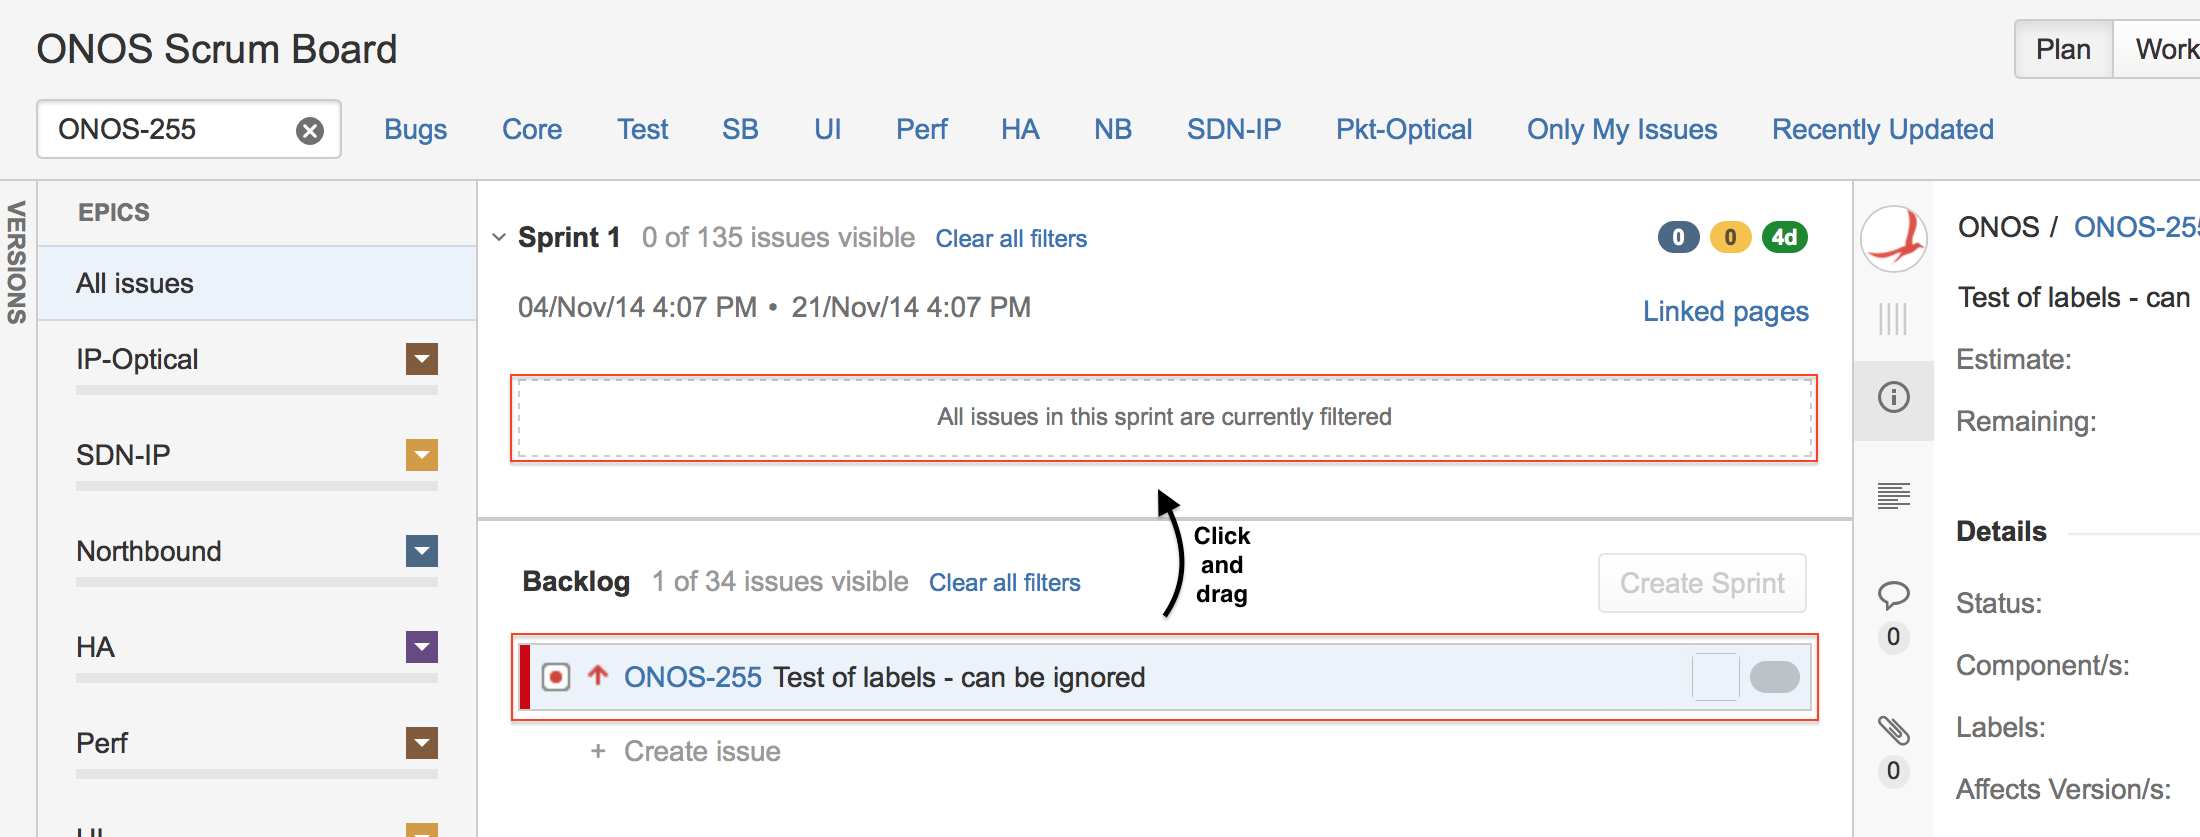
Confirm when the Move Issue dialog box appears, and check the Work view againthe Backlog, as per this section. - Once you are ready to work on the task, drag the issue from the To Do column to the In Progress column. Similarly, once you are finished, drag the issue from In Progress to Resolve Issue under Done. When your changes are accepted by the project, it can be moved to Close Issue under Done.
...