Due to a ransomware attack, the wiki was reverted to a July 2022 version. . We apologize for the lack of a more recent valid backup.
...
Everything else in the pom.xml file should be good to go.
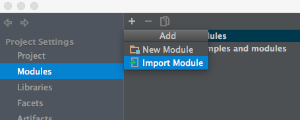
Import into IntelliJ, if you wish
You can import the application source into IntelliJ. In Project Settings, in the Modules section, select "add" (the + icon) and Import Module...
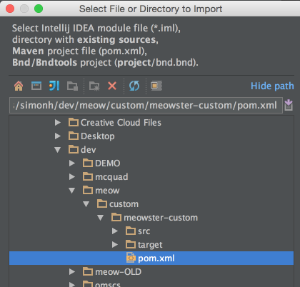
Navigate to and select the pom.xml file...
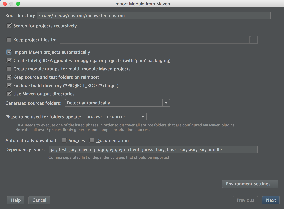
Import the module...
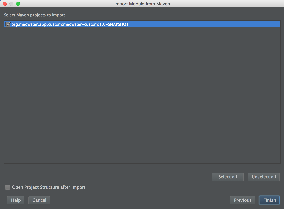
Now in the project structure, you should see something like this:
Building and Installing the App
From the top level project directory (the one with the pom.xml file) build the project(4) Build the app:
| Code Block |
|---|
$ mvn clean install |
Note that your application is bundled as an an .oar (ONOS NOS Application ARchive) file in the target directory, and installed into your local maven repository:
| Code Block | |
|---|---|
| text | ... [INFO] Installing /Users/simonh/dev/meow/custom/meowster-custom/target/meowster-custom-1.0-SNAPSHOT.oar to to /Users/simonh/.m2/repository/org/meowster/app/custom/meowster-custom/1.0-SNAPSHOT/meowster-custom-1.0-SNAPSHOT.oar ... |
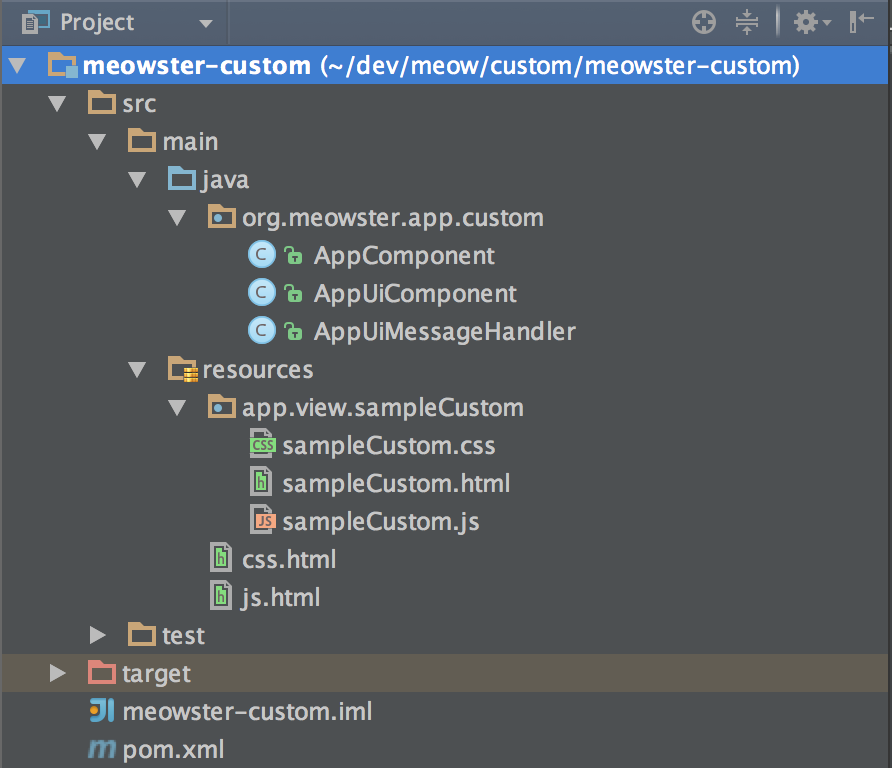
Import into IntelliJ, if you wish
You can import the application source into IntelliJ. In Project Settings, in the Modules section, select "add" (the + icon) and Import Module...
Navigate to and select the pom.xml file...
Import the module...
Now in the project structure, you should see something like this:
Assuming that you have ONOS running on your local machine, you can install the app from the command line:
| Code Block |
|---|
$ onos-app localhost install! target/meowster-custom-1.0-SNAPSHOT.oar |
You should see some JSON output that looks something like this:
| Code Block |
|---|
{"name":"org.meowster.app.custom","id":39,"version":"1.0.SNAPSHOT",
"description":"Meowster Sample ONOS Custom-View App",
"origin":"Meowster, Inc.","permissions":"[]",
"featuresRepo":"mvn:org.meowster.app.custom/meowster-custom/1.0-SNAPSHOT/xml/features",
"features":"[meowster-custom]","state":"ACTIVE"} |
After refreshing the GUI in your web browser, the navigation menu should have an additional entry:
| Note |
|---|
>>> screenshot of sample-custom nav item <<< |
Clicking on this item should navigate to the injected sample custom view:
| Note |
|---|
>>> screenshot of sample-custom view <<< |
Custom Views in Brief
To create a custom view requires both client-side and server-side resources; the clien-side consists of HTML, JavaScript, and CSS files, and the server-side consists of Java classes.
- The HTML file defines the structure of the custom view, and indicates to Angular where directives (behaviors) need to be injected.
- The JavaScript file creates the Angular controller for the view, and defines code that drives the view.
- The CSS file defines custom styling.
- The server-side Java code receives requests from the client, fetches (and formats) data, and sends the information back to the client.
Description of Template Files
...