Due to a ransomware attack, the wiki was reverted to a July 2022 version. . We apologize for the lack of a more recent valid backup.
...
In this tutorial, you’ll complete a set of exercises designed to explain the main concepts of ONOS, our distributed network operating system. Soon, you'll understand how to use the basic features of ONOS version 1.14.0 (Owl). Note that some of the screenshots below may indicate an older version, but the relevant steps are still the same.
To get you started quickly, this tutorial is distributed as a preconfigured virtual machine with the needed software. Just run the VM in VirtualBox using the instructions in the next section.
...
You will need to acquire two files: a VirtualBox installer and the ONOS tutorial OVA (for version 1.15.0).
(Here are some slides that can be used to accompany the tutorial: PDF , HTML)
After you have downloaded VirtualBox, install it, then go to the next section to verify that the VM is working on your system.
...
| Code Block | ||
|---|---|---|
| ||
onos> flows -s
deviceId=of:0000000000000001, flowRuleCount=3
    ADDED, bytes=429138, packets=5298, table=0, priority=40000, selector=[ETH_TYPE:bddp], treatment=[immediate=[OUTPUT:CONTROLLER], clearDeferred]
    ADDED, bytes=429138, packets=5298, table=0, priority=40000, selector=[ETH_TYPE:lldp], treatment=[immediate=[OUTPUT:CONTROLLER], clearDeferred]
    ADDED, bytes=0, packets=0, table=0, priority=40000, selector=[ETH_TYPE:arp], treatment=[immediate=[OUTPUT:CONTROLLER], clearDeferred]
deviceId=of:0000000000000002, flowRuleCount=5
    ADDED, bytes=428976, packets=5296, table=0, priority=40000, selector=[ETH_TYPE:lldp], treatment=[immediate=[OUTPUT:CONTROLLER], clearDeferred]
    ADDED, bytes=0, packets=0, table=0, priority=40000, selector=[ETH_TYPE:arp], treatment=[immediate=[OUTPUT:CONTROLLER], clearDeferred]
    ADDED, bytes=428976, packets=5296, table=0, priority=40000, selector=[ETH_TYPE:bddp], treatment=[immediate=[OUTPUT:CONTROLLER], clearDeferred]
    ADDED, bytes=32536, packets=332, table=0, priority=100, selector=[IN_PORT:1, ETH_DST:00:00:00:00:00:10, ETH_SRC:00:00:00:00:00:01], treatment=[immediate=[OUTPUT:4]]
    ADDED, bytes=32536, packets=332, table=0, priority=100, selector=[IN_PORT:4, ETH_DST:00:00:00:00:00:01, ETH_SRC:00:00:00:00:00:10], treatment=[immediate=[OUTPUT:1]]
deviceId=of:000000000000000b, flowRuleCount=5
    ADDED, bytes=214407, packets=2647, table=0, priority=40000, selector=[ETH_TYPE:bddp], treatment=[immediate=[OUTPUT:CONTROLLER], clearDeferred]
    ADDED, bytes=214407, packets=2647, table=0, priority=40000, selector=[ETH_TYPE:lldp], treatment=[immediate=[OUTPUT:CONTROLLER], clearDeferred]
    ADDED, bytes=294, packets=7, table=0, priority=40000, selector=[ETH_TYPE:arp], treatment=[immediate=[OUTPUT:CONTROLLER], clearDeferred]
    ADDED, bytes=32536, packets=332, table=0, priority=100, selector=[IN_PORT:2, ETH_DST:00:00:00:00:00:01, ETH_SRC:00:00:00:00:00:10], treatment=[immediate=[OUTPUT:3]]
    ADDED, bytes=32536, packets=332, table=0, priority=100, selector=[IN_PORT:3, ETH_DST:00:00:00:00:00:10, ETH_SRC:00:00:00:00:00:01], treatment=[immediate=[OUTPUT:2]]
deviceId=of:000000000000000c, flowRuleCount=3
    ADDED, bytes=214245, packets=2645, table=0, priority=40000, selector=[ETH_TYPE:bddp], treatment=[immediate=[OUTPUT:CONTROLLER], clearDeferred]
    ADDED, bytes=210, packets=5, table=0, priority=40000, selector=[ETH_TYPE:arp], treatment=[immediate=[OUTPUT:CONTROLLER], clearDeferred]
    ADDED, bytes=214245, packets=2645, table=0, priority=40000, selector=[ETH_TYPE:lldp], treatment=[immediate=[OUTPUT:CONTROLLER], clearDeferred]
deviceId=of:000000000000000d, flowRuleCount=3
    ADDED, bytes=210, packets=5, table=0, priority=40000, selector=[ETH_TYPE:arp], treatment=[immediate=[OUTPUT:CONTROLLER], clearDeferred]
    ADDED, bytes=214245, packets=2645, table=0, priority=40000, selector=[ETH_TYPE:bddp], treatment=[immediate=[OUTPUT:CONTROLLER], clearDeferred]
    ADDED, bytes=214245, packets=2645, table=0, priority=40000, selector=[ETH_TYPE:lldp], treatment=[immediate=[OUTPUT:CONTROLLER], clearDeferred]
deviceId=of:000000000000000e, flowRuleCount=5
    ADDED, bytes=214245, packets=2645, table=0, priority=40000, selector=[ETH_TYPE:lldp], treatment=[immediate=[OUTPUT:CONTROLLER], clearDeferred]
    ADDED, bytes=630, packets=15, table=0, priority=40000, selector=[ETH_TYPE:arp], treatment=[immediate=[OUTPUT:CONTROLLER], clearDeferred]
    ADDED, bytes=214245, packets=2645, table=0, priority=40000, selector=[ETH_TYPE:bddp], treatment=[immediate=[OUTPUT:CONTROLLER], clearDeferred]
    ADDED, bytes=32536, packets=332, table=0, priority=100, selector=[IN_PORT:2, ETH_DST:00:00:00:00:00:10, ETH_SRC:00:00:00:00:00:01], treatment=[immediate=[OUTPUT:3]]
    ADDED, bytes=32536, packets=332, table=0, priority=100, selector=[IN_PORT:3, ETH_DST:00:00:00:00:00:01, ETH_SRC:00:00:00:00:00:10], treatment=[immediate=[OUTPUT:2]]
onos> |
We can see that the traffic flows between dpid 00:00:00:00:00:00:00:02 (Spine-2) and 00:00:00:00:00:00:00:0b (Leaf-1) and similarly between 00:00:00:00:00:00:00:02 (Spine-2) and 00:00:00:00:00:00:00:0e (Leaf-4).
...
To open the UI simply click on the ONOS GUI icon on the desktop. Let's go over some of the GUI features.
GUI Features
...
Quick Help
At anytime you can pull up the GUI's cheat sheet by pressing the Slash key (/) key (which is ? without the pesky shift ![]() ) and you will get an overlay pane that looks like below. You can dismiss this by pressing the Esc key. Each view, not just the topology view, provides a similar Quick Help overlay.
) and you will get an overlay pane that looks like below. You can dismiss this by pressing the Esc key. Each view, not just the topology view, provides a similar Quick Help overlay.
...
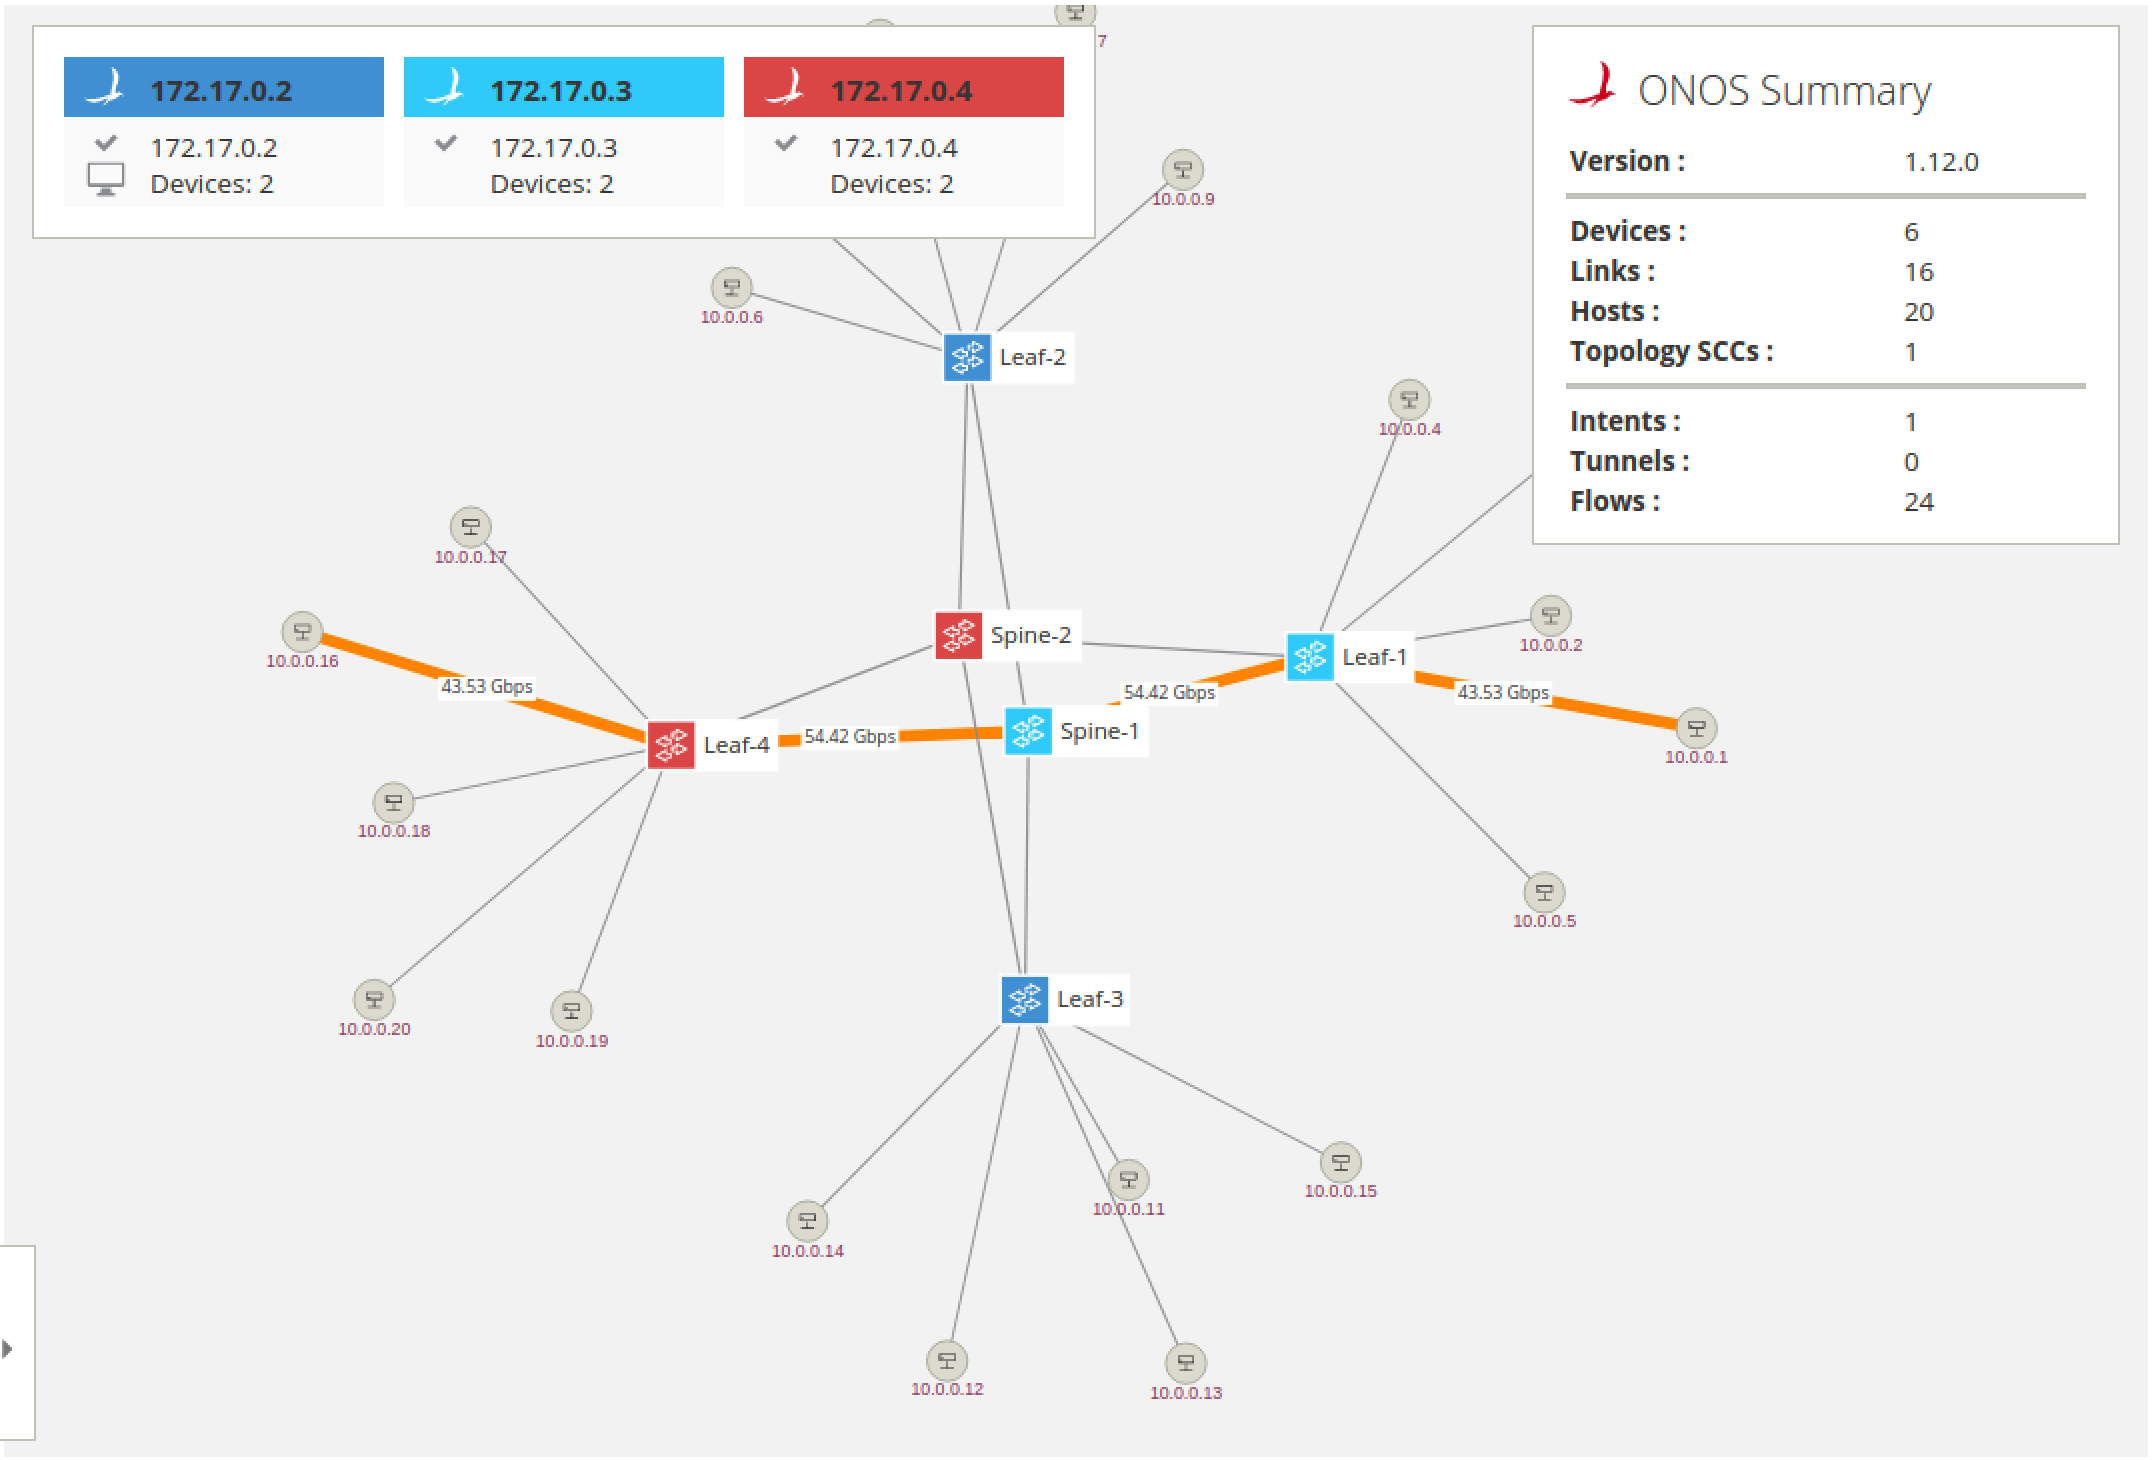
Notice that the glyphs for the switches changes color, this indicates which switches are controlled by which instance. This is useful to see at a glance which switches are controlled by which ONOS instance. The terminal glyph indicates which instance the GUI is presently connected to and the check-mark glyph indicates that the instance is in ready state, which means fully operating as part of the cluster.
Install Intent
Toolbar pane
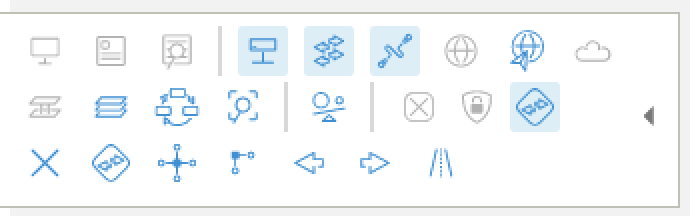
While lot of the features of the Topology View can be operating using solely the keyboard keys, a toolbar pane was provided to make it visually easier to identify all possible actions. The toolbar is located in the lower left-hand corner of the view and is hidden by default. You can toggle its display on/off using the Period (.) key.
Install Intent
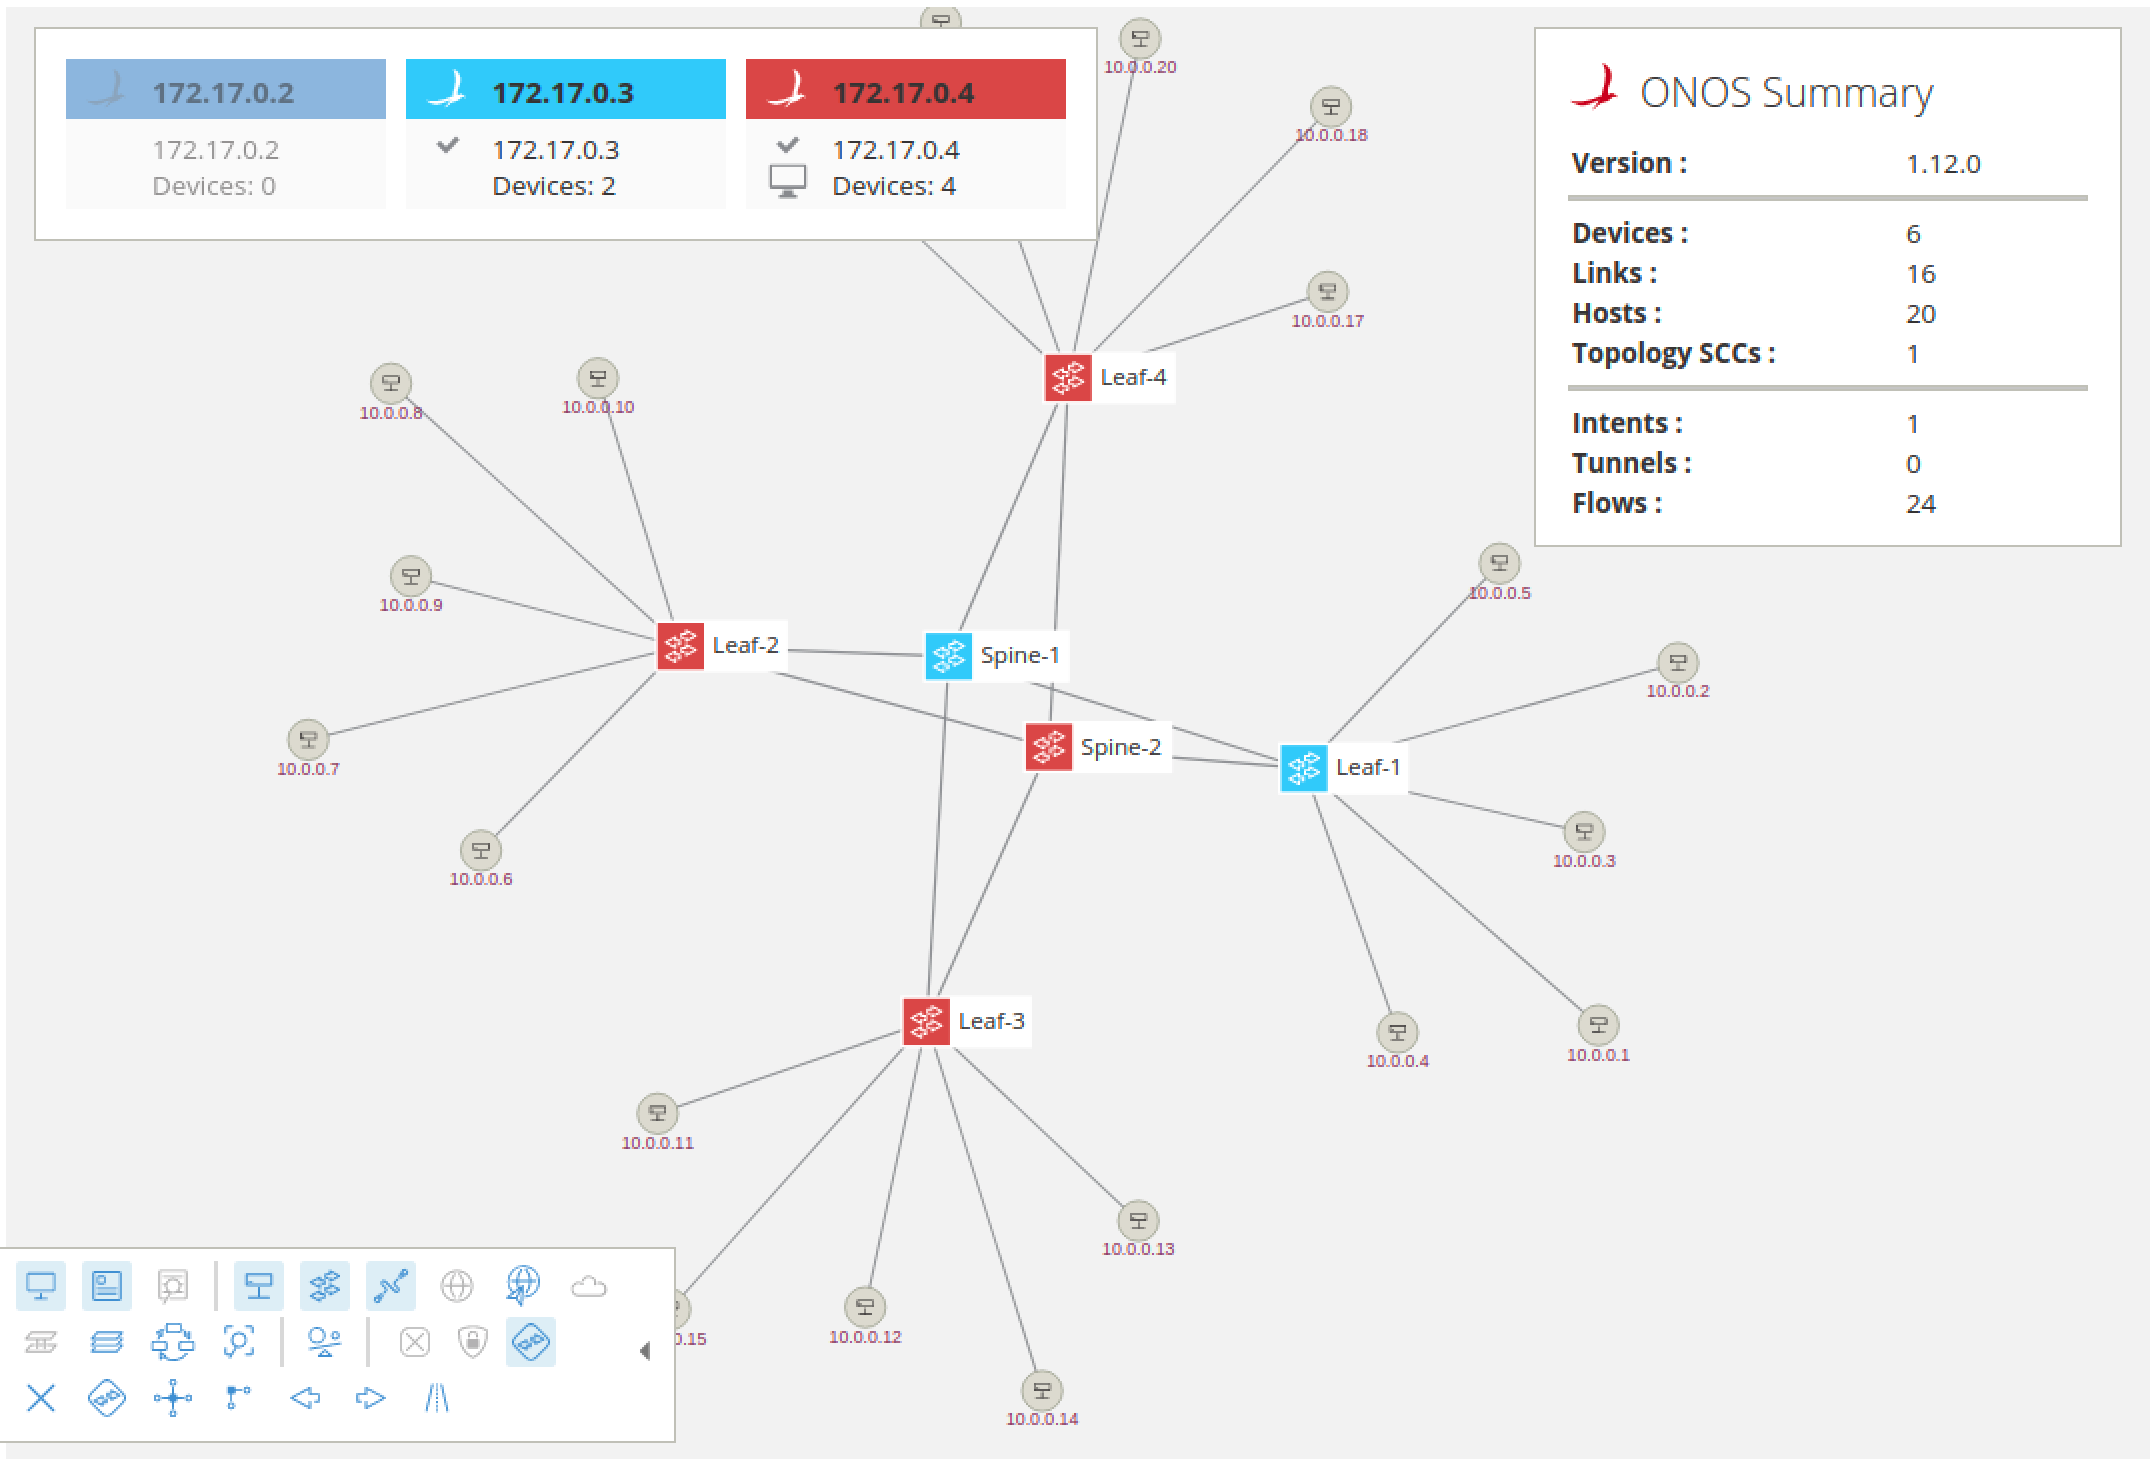
Ok let's install an intent using the UI. Ok let's install an intent using the UI. First select two hosts by clicking on one host then shift-click on another. Let's pick 10.0.0.20 and 10.0.0.9. Now a pane will appear on the right and side of the screen as here:
...
You can check that the intent was installed via the ONOS cli
| Code Block | ||
|---|---|---|
| ||
onos> intents
	id=0x223838ca, state=INSTALLED, type=HostToHostIntent, appId=org.onlab.onos.gui
[LinkTypeConstraint{inclusive=false, types=[OPTICAL]}] |
CLI intents command (exercise left to the reader) and verify that the two hosts can indeed reach each other using the Mininet ping command.
To send a more significant amount of traffic, than a mere ICMP ping, between the two hosts you can use the bgPerf mininet command as follows:Now let's send some traffic on that intent. This will animate the link to show traffic and display how much traffic (counter value) is flowing through that link
| Code Block |
|---|
mininet> h42bgIperf ping h23h11 h41 |
You can include more than two hosts in the above command and traffic will be generated between all of them, pairwise. Before you do that, however, you should make sure that they can reach each other by creating the appropriate connectvity intents.
Show all traffic
Another thing you can do is to visually monitor the network traffic in the UI. You can cycle between different modes, e.g. port stats in bits/s or packets/s and flow stats in bits/s or packets/s, by pressing the A key.
Play on
Now you know the main features of the GUI. We encourage you to play around with it to find out what other features you can use and who knows may find a few bugs.
...
After this, you should see the GUI connection fail-over to another ONOS cluster node, the device masterships to be re-assigned and the 1st node icon in the Instances pane will turn gray to indicate that the node is not reachable, similar to what is shown below:
In this case, the GUI reconnected to the 3rd cluster node and the two devices previously mastered by the node which is now shutdown have been adopted by the 3rd node as well. Otherwise, all operation should proceed as normal; this includes the GUI.
Note that since the node is set to autostart, it will come back and rejoin the cluster shortly. There is nothing required on your part to do that. If you wish to rebalance the mastership again, you can use the GUI or the following CLI command:
| Code Block |
|---|
onos> balance-masters |
You can also activate the Master Load Balancer app to periodically re-balance the mastership automatically.
...
in the Instances pane will turn gray to indicate that the node is not reachable, similar to what is shown below:
In this case, the GUI reconnected to the 3rd cluster node and the two devices previously mastered by the node which is now shutdown have been adopted by the 3rd node as well. Otherwise, all operation should proceed as normal; this includes the GUI.
Note that since the node is set to autostart, it will come back and rejoin the cluster shortly. There is nothing required on your part to do that. If you wish to rebalance the mastership again, you can use the GUI or the following CLI command:
| Code Block |
|---|
onos> balance-masters |
You can also activate the Master Load Balancer app to periodically re-balance the mastership automatically.
| Code Block |
|---|
onos> app activate mlb |
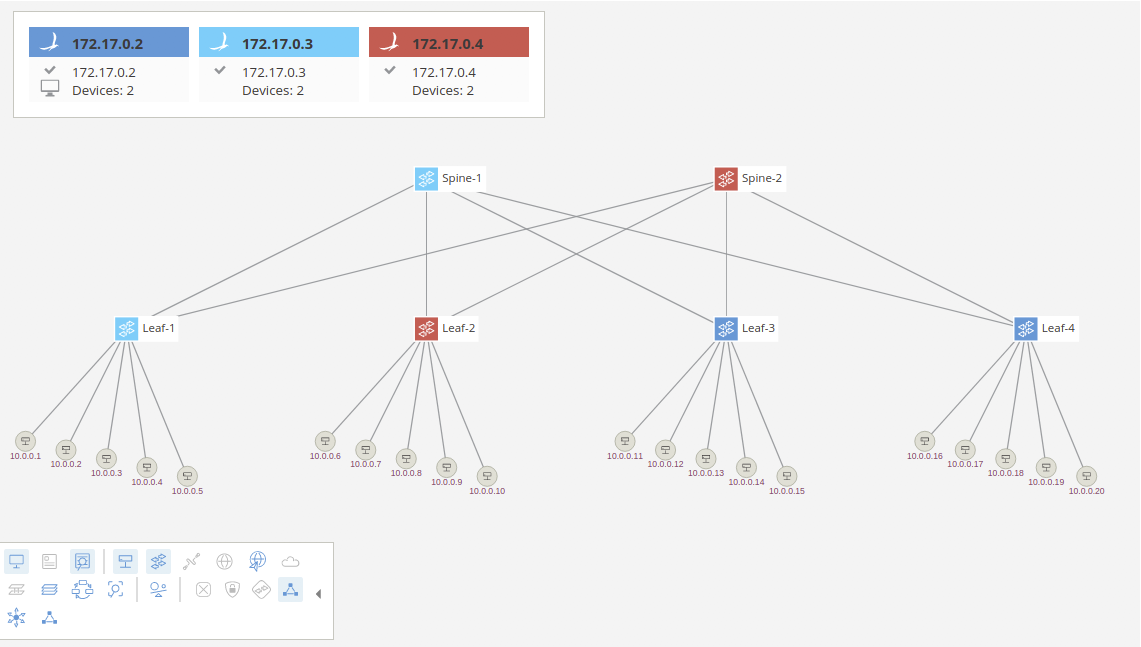
UI Autolayout
One of the applications available with standard ONOS distribution (and activated by default in this tutorial setup) allows for automatic layout of the network topology in the GUI. Presently, only two layouts are supported, one for access networks (spine-leaf and variants) and the other is to return to the default force-layout that we have been using up to this point of the tutorial. To try this, you can type the following from the ONOS CLI:
| Code Block |
|---|
onos> topo-layout access |
Afterwards, you should see the GUI change display to resemble a more familiar depiction of the spine-leaf fabric as show below:
You can of course also switch between different layouts using the provided GUI overlay that can be activated in the Topology View toolbar.
Exploring Further
Here we just scratched the surface of what ONOS can do in terms of controlling a network. We highly encourage you to continue using ONOS and perhaps start developing your own applications. Find out how to get started in this tutorial.
...