Due to a ransomware attack, the wiki was reverted to a July 2022 version. . We apologize for the lack of a more recent valid backup.
Welcome This applies to the Distributed ONOS Tutorial.
Slides for the tutorial are available on Google docs:
obsolete Junco (1.9) release
Please see Cluster Configuration in Owl (1.14) for an updated guide. For an up-to-date tutorial for ONOS see the NG-SDN tutorial
Welcome to the Distributed ONOS Tutorial.https://docs.google.com/presentation/d/1sKmbCmndgGlWE4lqZxb8FmR_1so7Ul4ELb80sWV2qck/edit?usp=sharing
In this tutorial, you will learn to write a distributed ONOS application. The application you will be writing is called BYON (Build Your Own Network). This tutorial will teach you how to implement an ONOS service, an ONOS store, and how to use parts of the CLI and Northbound API. ![]()
(Here are some some slides that that can be used to accompany the tutorial: Slides)
| Table of Contents |
|---|
Introduction
...
Email us if you’re stuck, think you’ve found a bug, or just want to send some feedback. Please have a look at the guidelines to learn how to efficiently submit a bug report.
Setup Set up your environment
Install required software
You will need to acquire two files: a VirtualBox installer and the latest Tutorial VM from the Download packages and tutorial VMs page Downloads page.
After you have downloaded VirtualBox, install it, then go to the next section to verify that the VM is working on your system.
...
Click on import. When the import is finished start the VM and login using:
USERNAME: distributed
PASSWORD: distributed
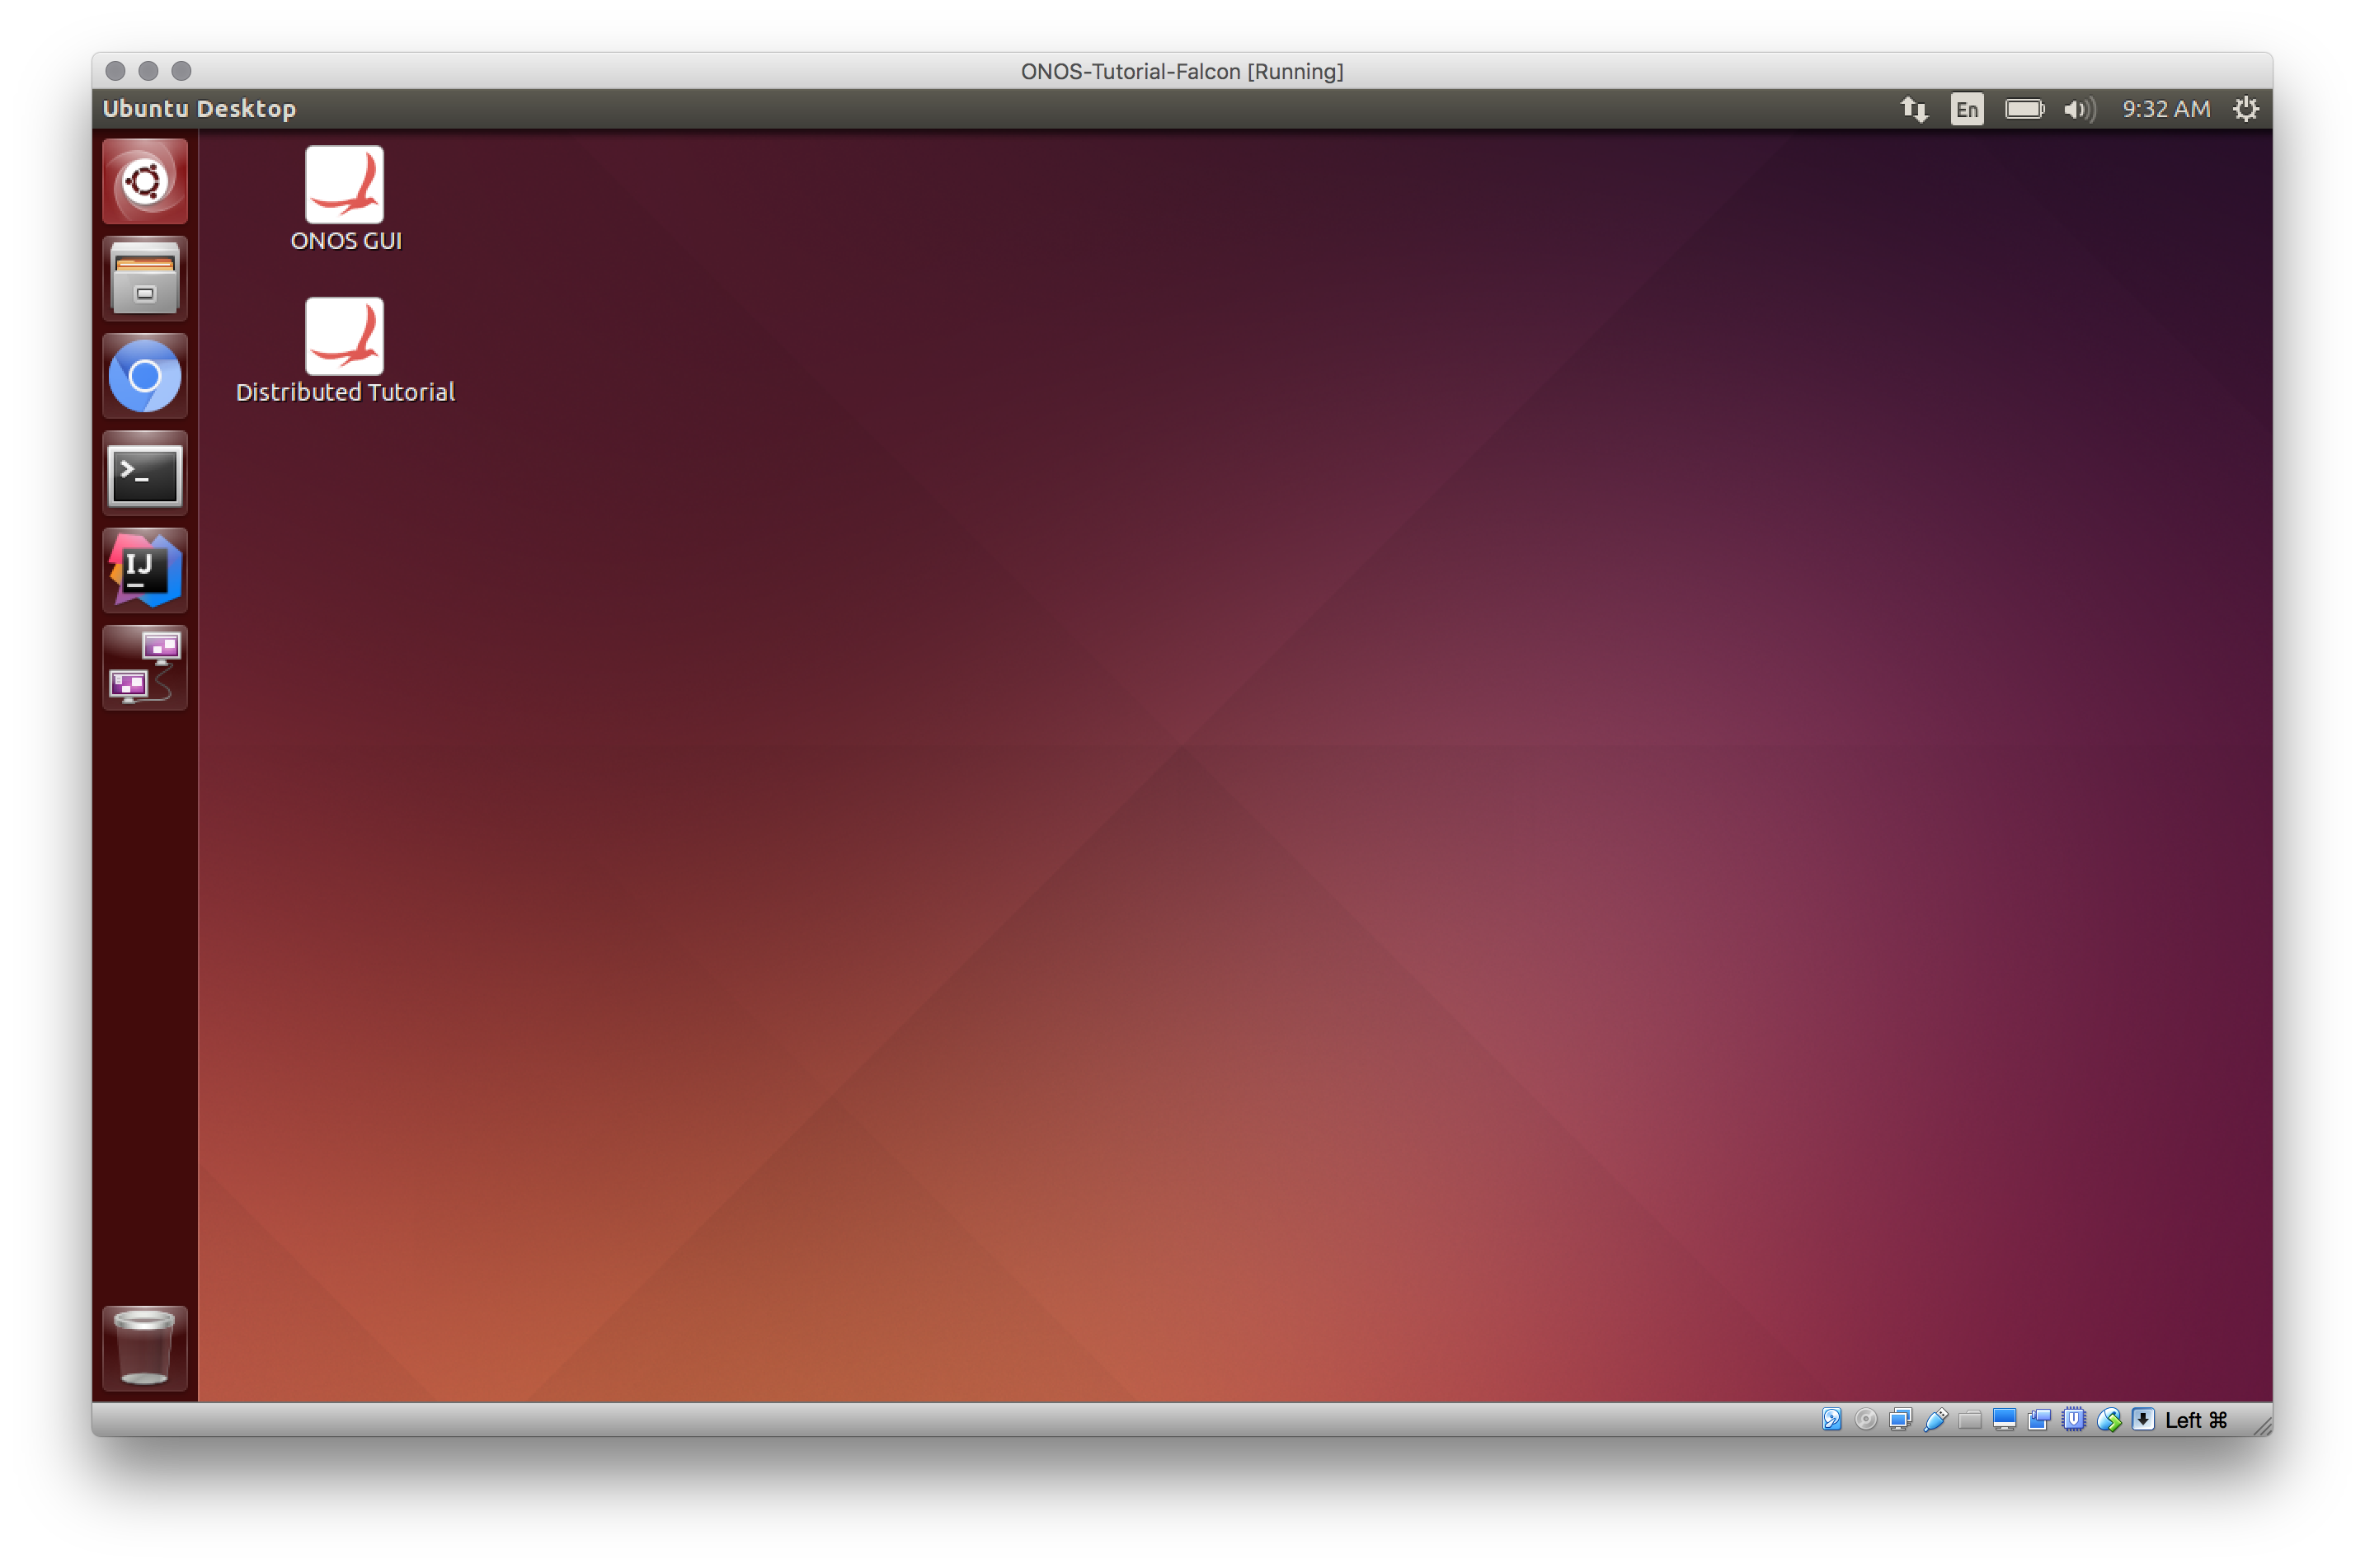
you will be automatically logged in to a running desktop session as show below:
Important Command Prompt Notes
...
indicates that you are in mininet.
Start up ONOS for the first time
Double-click the 'Reset' icon on the desktop. This cleans the environment and re-deploys ONOS in a 3 instance configuration.
Connecting to your tutorial cell
Obtain the IP address of the tutorial cell on from your instructor and setup a PPTP VPN connection using onos as a user and onos as password. The method to this will vary depending on the operating system of the developer machine. The example below shows the setup on OS/X:
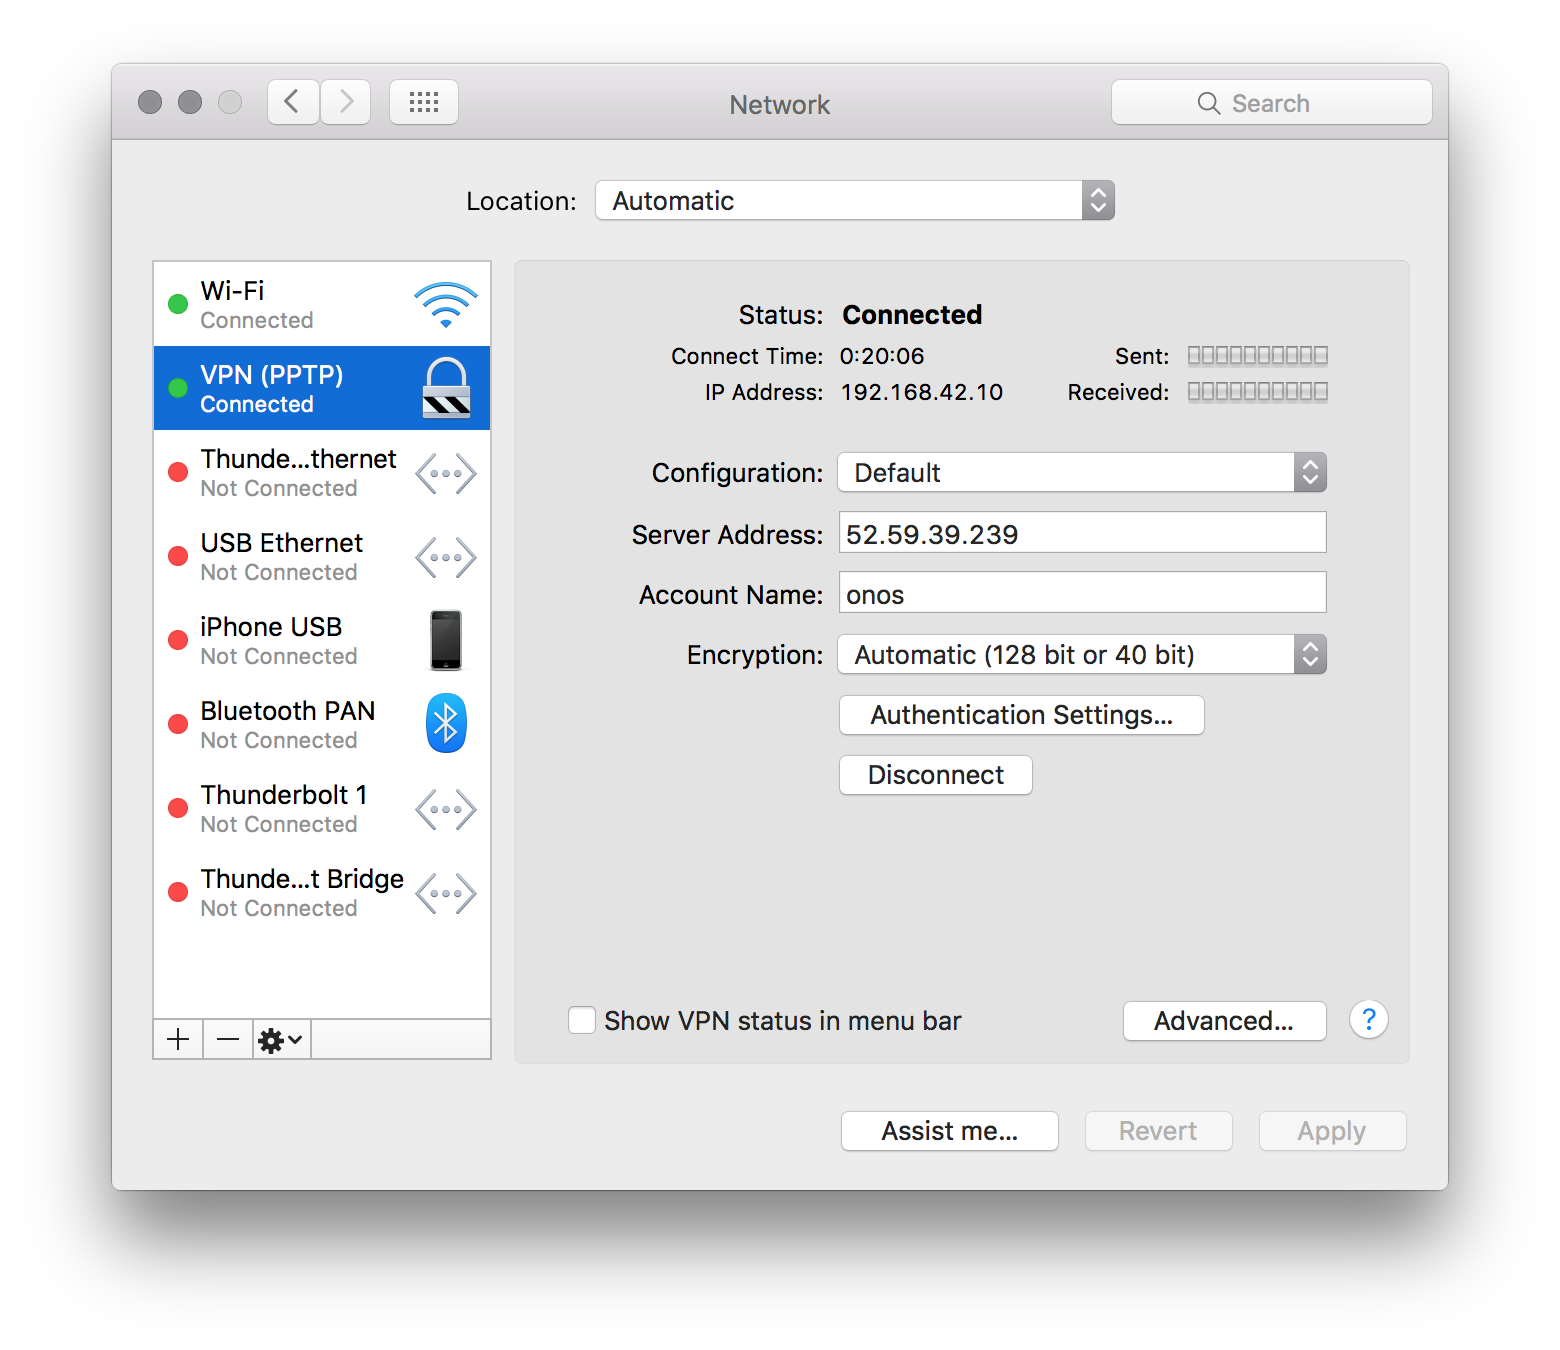
Then connect to the ONOS Cluster VPN.
Verifying that ONOS is deployed
Now ONOS is installed let's quickly run some tests to make sure everything is ok. Let's start by openning a new terminal window and connecting to the ONOS cli :by typing onos
| Code Block |
|---|
distributed@mininetonos@onos-vmtutorial:~$ onos -w $OC1 Connection to 172.17.0.2 closed. Logging in as karaf Welcome to Open Network Operating System (ONOS)! ____ _ ______ ____ / __ \/ |/ / __ \/ __/ / /_/ / / /_/ /\ \ \____/_/|_/\____/___/ Hit '<tab>Documentation: wiki.onosproject.org Tutorials: tutorials.onosproject.org Mailing lists: lists.onosproject.org Come help out! Find out how at: contribute.onosproject.org Hit '<tab>' for a list of available commands and '[cmd] --help' for help on a specific command. Hit '<ctrl-d>' or type 'system:shutdown' or 'logout' to shutdown ONOS. onos> |
You should drop into the cli. Now in open another cli terminal window let's and start mininet .as shown:
| Code Block |
|---|
distributed@mininetonos@onos-vmtutorial:~$ cd onos-byon && ./startmn.sh mininet>... ... mininet> |
Now let's see if we have switches that are connected to ONOS:
| Code Block |
|---|
onos> devices id=of:0000000100000001, available=true, role=MASTER, type=SWITCH, mfr=Nicira, Inc., hw=Open vSwitch, sw=2.1.3, serial=None, protocol=OF_10 id=of:0000000100000002, available=true, role=STANDBY, type=SWITCH, mfr=Nicira, Inc., hw=Open vSwitch, sw=2.1.3, serial=None, protocol=OF_10 id=of:0000000200000001, available=true, role=MASTER, type=SWITCH, mfr=Nicira, Inc., hw=Open vSwitch, sw=2.1.3, serial=None, protocol=OF_10 id=of:0000000200000002, available=true, role=STANDBY, type=SWITCH, mfr=Nicira, Inc., hw=Open vSwitch, sw=2.1.3, serial=None, protocol=OF_10 id=of:0000000300000001, available=true, role=MASTER, type=SWITCH, mfr=Nicira, Inc., hw=Open vSwitch, sw=2.1.3, serial=None, protocol=OF_10 id=of:0000000300000002, available=true, role=STANDBY, type=SWITCH, mfr=Nicira, Inc., hw=Open vSwitch, sw=2.1.3, serial=None, protocol=OF_10 id=of:0000010100000000, available=true, role=STANDBY, type=SWITCH, mfr=Nicira, Inc., hw=Open vSwitch, sw=2.1.3, serial=None, protocol=OF_10 id=of:0000010200000000, available=true, role=STANDBY, type=SWITCH, mfr=Nicira, Inc., hw=Open vSwitch, sw=2.1.3, serial=None, protocol=OF_10 id=of:0000020100000000, available=true, role=MASTER, type=SWITCH, mfr=Nicira, Inc., hw=Open vSwitch, sw=2.1.3, serial=None, protocol=OF_10 id=of:0000020200000000, available=true, role=STANDBY, type=SWITCH, mfr=Nicira, Inc., hw=Open vSwitch, sw=2.1.3, serial=None, protocol=OF_10 id=of:0000030100000000, available=true, role=STANDBY, type=SWITCH, mfr=Nicira, Inc., hw=Open vSwitch, sw=2.1.3, serial=None, protocol=OF_10 id=of:0000030200000000, available=true, role=MASTER, type=SWITCH, mfr=Nicira, Inc., hw=Open vSwitch, sw=2.1.3, serial=None, protocol=OF_10 id=of:1111000000000000, available=true, role=STANDBY, type=SWITCH, mfr=Nicira, Inc., hw=Open vSwitch, sw=2.1.3, serial=None, protocol=OF_10 id=of:2222000000000000, available=true, role=STANDBY, type=SWITCH, mfr=Nicira, Inc., hw=Open vSwitch, sw=2.1.3, serial=None, protocol=OF_10 |
Let's install reactive forwarding and see if we can forward traffic You can also see which switches are connected to each instance of the ONOS cluster:
| Code Block |
|---|
onos> app activate org.onosproject.fwd |
In the mininet console:
| Code Block |
|---|
mininet> pingall
*** Ping: testing ping reachability
h111 -> h112 h121 h122 h211 h212 h221 h222 h311 h312 h321 h322
h112 -> h111 h121 h122 h211 h212 h221 h222 h311 h312 h321 h322
h121 -> h111 h112 h122 h211 h212 h221 h222 h311 h312 h321 h322
h122 -> h111 h112 h121 h211 h212 h221 h222 h311 h312 h321 h322
h211 -> h111 h112 h121 h122 h212 h221 h222 h311 h312 h321 h322
h212 -> h111 h112 h121 h122 h211 h221 h222 h311 h312 h321 h322
h221 -> h111 h112 h121 h122 h211 h212 h222 h311 h312 h321 h322
h222 -> h111 h112 h121 h122 h211 h212 h221 h311 h312 h321 h322
h311 -> h111 h112 h121 h122 h211 h212 h221 h222 h312 h321 h322
h312 -> h111 h112 h121 h122 h211 h212 h221 h222 h311 h321 h322
h321 -> h111 h112 h121 h122 h211 h212 h221 h222 h311 h312 h322
h322 -> h111 h112 h121 h122 h211 h212 h221 h222 h311 h312 h321
*** Results: 0% dropped (132/132 received) |
Finally let's see if we have switches connected to each instance of ONOS:
| Code Block |
|---|
onos> masters
172.17.0.2: 5 devices
  of:0000000100000001
  of:0000000200000001
  of:0000000300000001
  of:0000020100000000
  of:0000030200000000
172.17.0.3: 2 devices
  of:0000000100000002
  of:0000000300000002
172.17.0.4: 7 devices
  of:0000000200000002
  of:0000010100000000
  of:0000010200000000
  of:0000020200000000
  of:0000030100000000
  of:1111000000000000
of:2222000000000000 |
The number of switches per ONOS instance may be different for you because mastership is simply obtained by the first controller which handshakes with the switch. If you would like to rebalance the switch-onos ratio simply run:
| Code Block |
|---|
onos> balance-masters |
And now the output of the masters command should give you something similar to this:
| Code Block |
|---|
onos> masters
172.17.0.2: 5 devices
  of:0000000100000001
  of:0000000200000001
  of:0000000300000001
  of:0000020100000000
  of:0000030200000000
172.17.0.3: 4 devices
  of:0000000100000002
  of:0000000300000002
  of:0000020200000000
  of:1111000000000000
172.17.0.4: 5 devices
  of:0000000200000002
  of:0000010100000000
  of:0000010200000000
  of:0000030100000000
of:2222000000000000 |
Now we should uninstall reactive forwarding so it doesn't get in the way for the next part of the tutorial.
| Code Block |
|---|
onos> app deactivate org.onosproject.fwd |
At this point, you multi-instance ONOS deployment is functional. Let's move on to writing some code.
Writing 'Build Your Own Network'
We are now going to start building BYON. BYON is a service which allows you to spawn virtual networks in which each host is connected to every other host of that virtual network. Basically, each virtual network contains a full mesh of the hosts that make it up.
Lab 1: Importing and building an application
We have downloaded some starter code in the ~/onos-byon directory. It contains a root pom.xml file for the project, as well as a initial implementation of the CLI bundle. We can start by importing the entire project into IntelliJ.
Before we fetch stuff from git, run the following to make git happy.
| Code Block |
|---|
distributed@mininet-vm:~/onos-byon/ $ git config --global user.email "you@example.com"
distributed@mininet-vm:~/onos-byon/ $ git config --global user.name "Your Name" |
Before we start, make sure you have the latest version of the template code by running:
...
masters
172.17.0.2: 5 devices
  of:0000000100000001
  of:0000000200000001
  of:0000000300000001
  of:0000020100000000
  of:0000030200000000
172.17.0.3: 2 devices
  of:0000000100000002
  of:0000000300000002
172.17.0.4: 7 devices
  of:0000000200000002
  of:0000010100000000
  of:0000010200000000
  of:0000020200000000
  of:0000030100000000
  of:1111000000000000
of:2222000000000000 |
The number of switches per ONOS instance may be different for you because mastership is simply obtained by the first controller which handshakes with the switch. If you would like to rebalance the switch-onos ratio simply run:
| Code Block |
|---|
onos> balance-masters |
And now the output of the masters command should give you something similar to this:
| Code Block |
|---|
onos> masters
172.17.0.2: 5 devices
  of:0000000100000001
  of:0000000200000001
  of:0000000300000001
  of:0000020100000000
  of:0000030200000000
172.17.0.3: 4 devices
  of:0000000100000002
  of:0000000300000002
  of:0000020200000000
  of:1111000000000000
172.17.0.4: 5 devices
  of:0000000200000002
  of:0000010100000000
  of:0000010200000000
  of:0000030100000000
of:2222000000000000 |
At this point, you multi-instance ONOS deployment is functional. Let's move on to writing some code.
Writing 'Build Your Own Network'
We are now going to start building BYON. BYON is a service which allows you to spawn virtual networks in which each host is connected to every other host of that virtual network. Basically, each virtual network contains a full mesh of the hosts that make it up.
Lab 1: Importing and building an application
We have downloaded some starter code in the ~/onos-byon directory. It contains a root pom.xml file for the project, as well as a initial implementation of the CLI bundle. We can start by importing the entire project into IntelliJ.
...
First start IntelliJ by double clicking on the IntelliJ icon on your desktop. When you get prompted with the following window.
...
Next, we can return to a tutorial to build the project.
| Code Block |
|---|
distributed@mininetonos@onos-vmtutorial:~/onos-byon$ mci [INFO] Scanning for projects... ... [INFO] byon .............................................. SUCCESS [1.104s] [INFO] ------------------------------------------------------------------------ [INFO] BUILD SUCCESS [INFO] ------------------------------------------------------------------------ [INFO] Total time: 6.719s [INFO] Finished at: Fri Dec 12 14:28:16 PST 2014 [INFO] Final Memory: 30M/303M [INFO] ------------------------------------------------------------------------ distributed@mininetonos@onos-vmtutorial:~/onos-byon$ |
mci is an alias for mvn clean install. Now, that your project has successfully built your project let's push it up to the ONOS cluster..
| Code Block |
|---|
distributed@mininetonos@onos-vmtutorial:~/onos-byon$ onos-app $OC1 install target/byon-1.0-SNAPSHOT.oar {"name":"org.onos.byon","id":39,"version":"1.0-SNAPSHOT","description":"Build Your Own Network App","origin":"Apps-R-Us LLC, Inc. GmbH","permissions":"[]","featuresRepo":"mvn:org.onos.byon/byon/1.0-SNAPSHOT/xml/features","features":"[byon]","state":"INSTALLED"} |
The onos-app command will take the oar file that is generated during the build and push it into the specified ONOS instance. The command can also activate the application if you replace install with install! as well as separately activate, deactivate, and uninstall the application. Every time you update your code you simply need to run onos-app $OC1 reinstall! target/byon-1.0-SNAPSHOT.org and oar and the new application will be loaded and started in the remote ONOS instances.
Let's check that everything works by heading into ONOS and running a couple commands:
...
| Code Block |
|---|
distributed@mininetonos@onos-vmtutorial:~/onos-byon$ onos -w Logging in as karaf Welcome to Open Network Operating System (ONOS)! ____ _ ______ ____ / __ \/ |/ / __ \/ __/ / /_/ / / /_/ /\ \ \____/_/|_/\____/___/ Hit '<tab>' for a list of available commands and '[cmd] --help' for help on a specific command. Hit '<ctrl-d>' or type 'system:shutdown' or 'logout' to shutdown ONOS. onos> apps -s ... 37 org.onos.byon 1.0.SNAPSHOT Build Your Own Network App |
The application has been successfully installed, but it has not yet been activated. Next, we will activate it:
| Code Block |
|---|
onos> app activate org.onos.byon onos> apps -s ... * 37 org.onos.byon 1.0.SNAPSHOT Build Your Own Network App |
The star next to the application indicates that it has been activated. We can try running the list-networks command to display the one fake network that is hard coded in the starter code.
...
In order to be able to use many of ONOS' services, the caller must supply an Application ID. An application ID allow allows ONOS to identify who is consuming which resources as well as track applications. To achieve this, we ask the CoreService for an application ID in the activate method. You should use the appId when constructing the intents for this part.
...
Start by creating two files in the byon-cli package " 'RemoveHostCommand.java" and "RemoveNetworkCommand.java". These CLI commands are '. This CLI command is simple and very similar to the add host CLI commandscommand, so do this now as an exercise. When you have written these commandsthis command, you will need to add the following XML to the 'shell-config.xml' under resources.under resources.
| Code Block |
|---|
| Code Block |
<command> <action class="org.onos.byon.cli.RemoveHostCommand"/> <completers> <ref component-id="networkCompleter"/> <ref component-id="hostIdCompleter"/> <null/> </completers> </command> <command> <action class="org.onos.byon.cli.RemoveNetworkCommandRemoveHostCommand"/> <completers> <ref component-id="networkCompleter"/> <null <ref component-id="hostIdCompleter"/> <null/> </completers> </command> |
Once again if you recompile your code and use onos-app update your application on the ONOS instances. You should now be able to add and remove networks as well as hosts. Try it out!
...
| Code Block |
|---|
 	/*
     * TODO Lab 5: Replace the ConcurrentMap with ConsistentMap
     */
    private Map<String, Set<HostId>> networks;
private ConsistentMap<String, Set<HostId>> nets; |
Once you change the ConcurrentMap to a ConsistentMap, we will need to update the way the map is created in the activate() method. Here is how we can ask the storage service for a ConcurrentMap:
| Code Block |
|---|
	 /*
      * TODO Lab 5: Replace the ConcurrentHashMap with ConsistentMap
      *
      * You should use storageService.consistentMapBuilder(), and the
      * serializer: Serializer.using(KryoNamespaces.API)
      */
      nets = storageService.<String, Set<HostId>>consistentMapBuilder()
                .withSerializer(Serializer.using(KryoNamespaces.API))
                .withName("byon-networks")
                .build();

networks = nets.asJavaMap(); |
You will notice a few compilation errors after making this change. This is because the ConcurrentMap returns a Versioned<Value>, rather than just a Value. You should fix the compilation errors marked by Lab 5 TODOs.Now that you the networks field is a normal java map that is backed by a distributed map you do not have to change any code at all. And actually you can ignore all the lab 5 todos. ![]()
Next, let's recompile your application and push it to the ONOS cluster. You should now be able to create, update, and delete networks from any node, and your distributed store will the application running on all instances in sync. Open a few terminals and test this on the different instances.
Lab 6: Network Events
Components in ONOS can use events to asynchronously notify other components when their state has changed. We will demonstrate how this can be done by creating a new event type, NetworkEvent, to notify listeners when a virtual network has been updated. These events will be fired by the distributed store and forwarded by the manager to listeners in the peer ONOS instance.
Let's start by adding a inspecting the NetworkEvent class:
| Code Block | ||
|---|---|---|
| ||
public class NetworkEvent extends AbstractEvent<NetworkEvent.Type, String> {

    enum Type {
        NETWORK_ADDED,
        NETWORK_REMOVED,
        NETWORK_UPDATED
    }

    public NetworkEvent(Type type, String subject) {
        super(type, subject);
    }

} |
We are also going to need a couple interfaces that will be needed by the listeners and the and the delegates. The listeners are components which have registered to obtain events from this service, these are usually local. A delegate is a manager which is receiving events from a neighbouring store for the purpose of either taking action on the store event or notifying listeners. So we are going to add NetworkListener.
| Code Block | ||
|---|---|---|
| ||
public interface NetworkListener extends EventListener<NetworkEvent> {} |
and a NetworkStoreDelegate interfaces
| Code Block | ||
|---|---|---|
| ||
public interface NetworkStoreDelegate extends StoreDelegate<NetworkEvent> {} |
Of course now if we want the store to be delegate-capable we need to make it extend the Store as shown below.
| Code Block | ||
|---|---|---|
| ||
public interface NetworkStore extends Store<NetworkEvent, NetworkStoreDelegate> {
|
And since we changed the interface of the Store we will have to add something to the implementation, namely DistributedNetworkStore. This abstract class is used to define the methods for posting event to its delegates.
| Code Block |
|---|
public class DistributedNetworkStore extends AbstractStore<NetworkEvent, NetworkStoreDelegate> |
We need to add the following methods to the NetworkService in order to allow components to add and remove listeners.
      NETWORK_REMOVED,
        NETWORK_UPDATED
    }

    public NetworkEvent(Type type, String subject) {
        super(type, subject);
    }

} |
Let's also inspect the provided abstraction for listeners capable of receiving network events, which is the NetworkListener class:
| Code Block | ||
|---|---|---|
| ||
public interface NetworkListener extends EventListener<NetworkEvent> {} |
With ONOS being a clustered system, it needs to allow managers to learn about events that may have occurred on other cluster nodes. For this reason, in every ONOS subsystem the events are generated within the distributed stores and then are passed to the respective manager components via StoreDelegate interface. Upon receiving the event via the delegate interface, the manager can then take local action and then disseminate the event to its event listeners.
Let's inspect the provided NetworkStoreDelegate interface:
| Code Block | ||
|---|---|---|
| ||
public interface NetworkStoreDelegate extends StoreDelegate<NetworkEvent> {} |
To enable the store/manager delegate relationship, we need to make the existing store interface extend the abstract Store interface as shown below. It basically states that the NetworkStore is capable of having a NetworkStoreDelegate to which it will send NetworkEvent notifications:
| Code Block | ||
|---|---|---|
| ||
public interface NetworkStore extends Store<NetworkEvent, NetworkStoreDelegate> {
|
And since we changed the interface of the Store we will have to make sure that the implementation, namely DistributedNetworkStore, properly adheres the revised contract. The AbstractStore base class provides methods for setting delegate and for posting events to that delegate.
| Code Block | ||
|---|---|---|
public class DistributedNetworkStore extends AbstractStore<NetworkEvent, NetworkStoreDelegate> | ||
| Code Block | ||
| ||
    /**
     * Register a listener for network events.
     *
     * @param listener listener
     */
    void addListener(NetworkListener listener);

    /**
     * Unregister a listener for network events.
     *
     * @param listener listener
     */
void removeListener(NetworkListener listener); |
The ConsistentMap will already generate notifications when updates are made locally and remotely, so we can mostly leverage that feature to regenerate our events.
To do this, we will need to create a MapEventListener<Stringa MapEventListener<String, Set<HostId>> class in the DistributedNetworkStore.
| Code Block |
|---|
private class InternalListener implements MapEventListener<String, Set<HostId>> {
    @Override
    public void event(MapEvent<String, Set<HostId>> mapEvent) {
        final NetworkEvent.Type type;
        switch (mapEvent.type()) {
            case INSERT:
                type = NETWORK_ADDED;
                break;
            case UPDATE:
                type = NETWORK_UPDATED;
                break;
            case REMOVE:
            default:
                type = NETWORK_REMOVED;
                break;
        }
        notifyDelegate(new NetworkEvent(type, mapEvent.key()));
    }
} |
...
Congratulations! You have learned how to develop an ONOS distributed application on ONOS.
Source Code Download
If you wish to have access to the full source code with the complete solution, and without downloading the entire tutorial VM, you can download the source code directly from GitHub as follows:
| Code Block |
|---|
git clone https://github.com/bocon13/onos-byon.git && cd onos-byon && git checkout solution |