Due to a ransomware attack, the wiki was reverted to a July 2022 version. . We apologize for the lack of a more recent valid backup.
Introduction
This page provides information on how to use and understand the PathPainter Application for the ONOS Web UI.
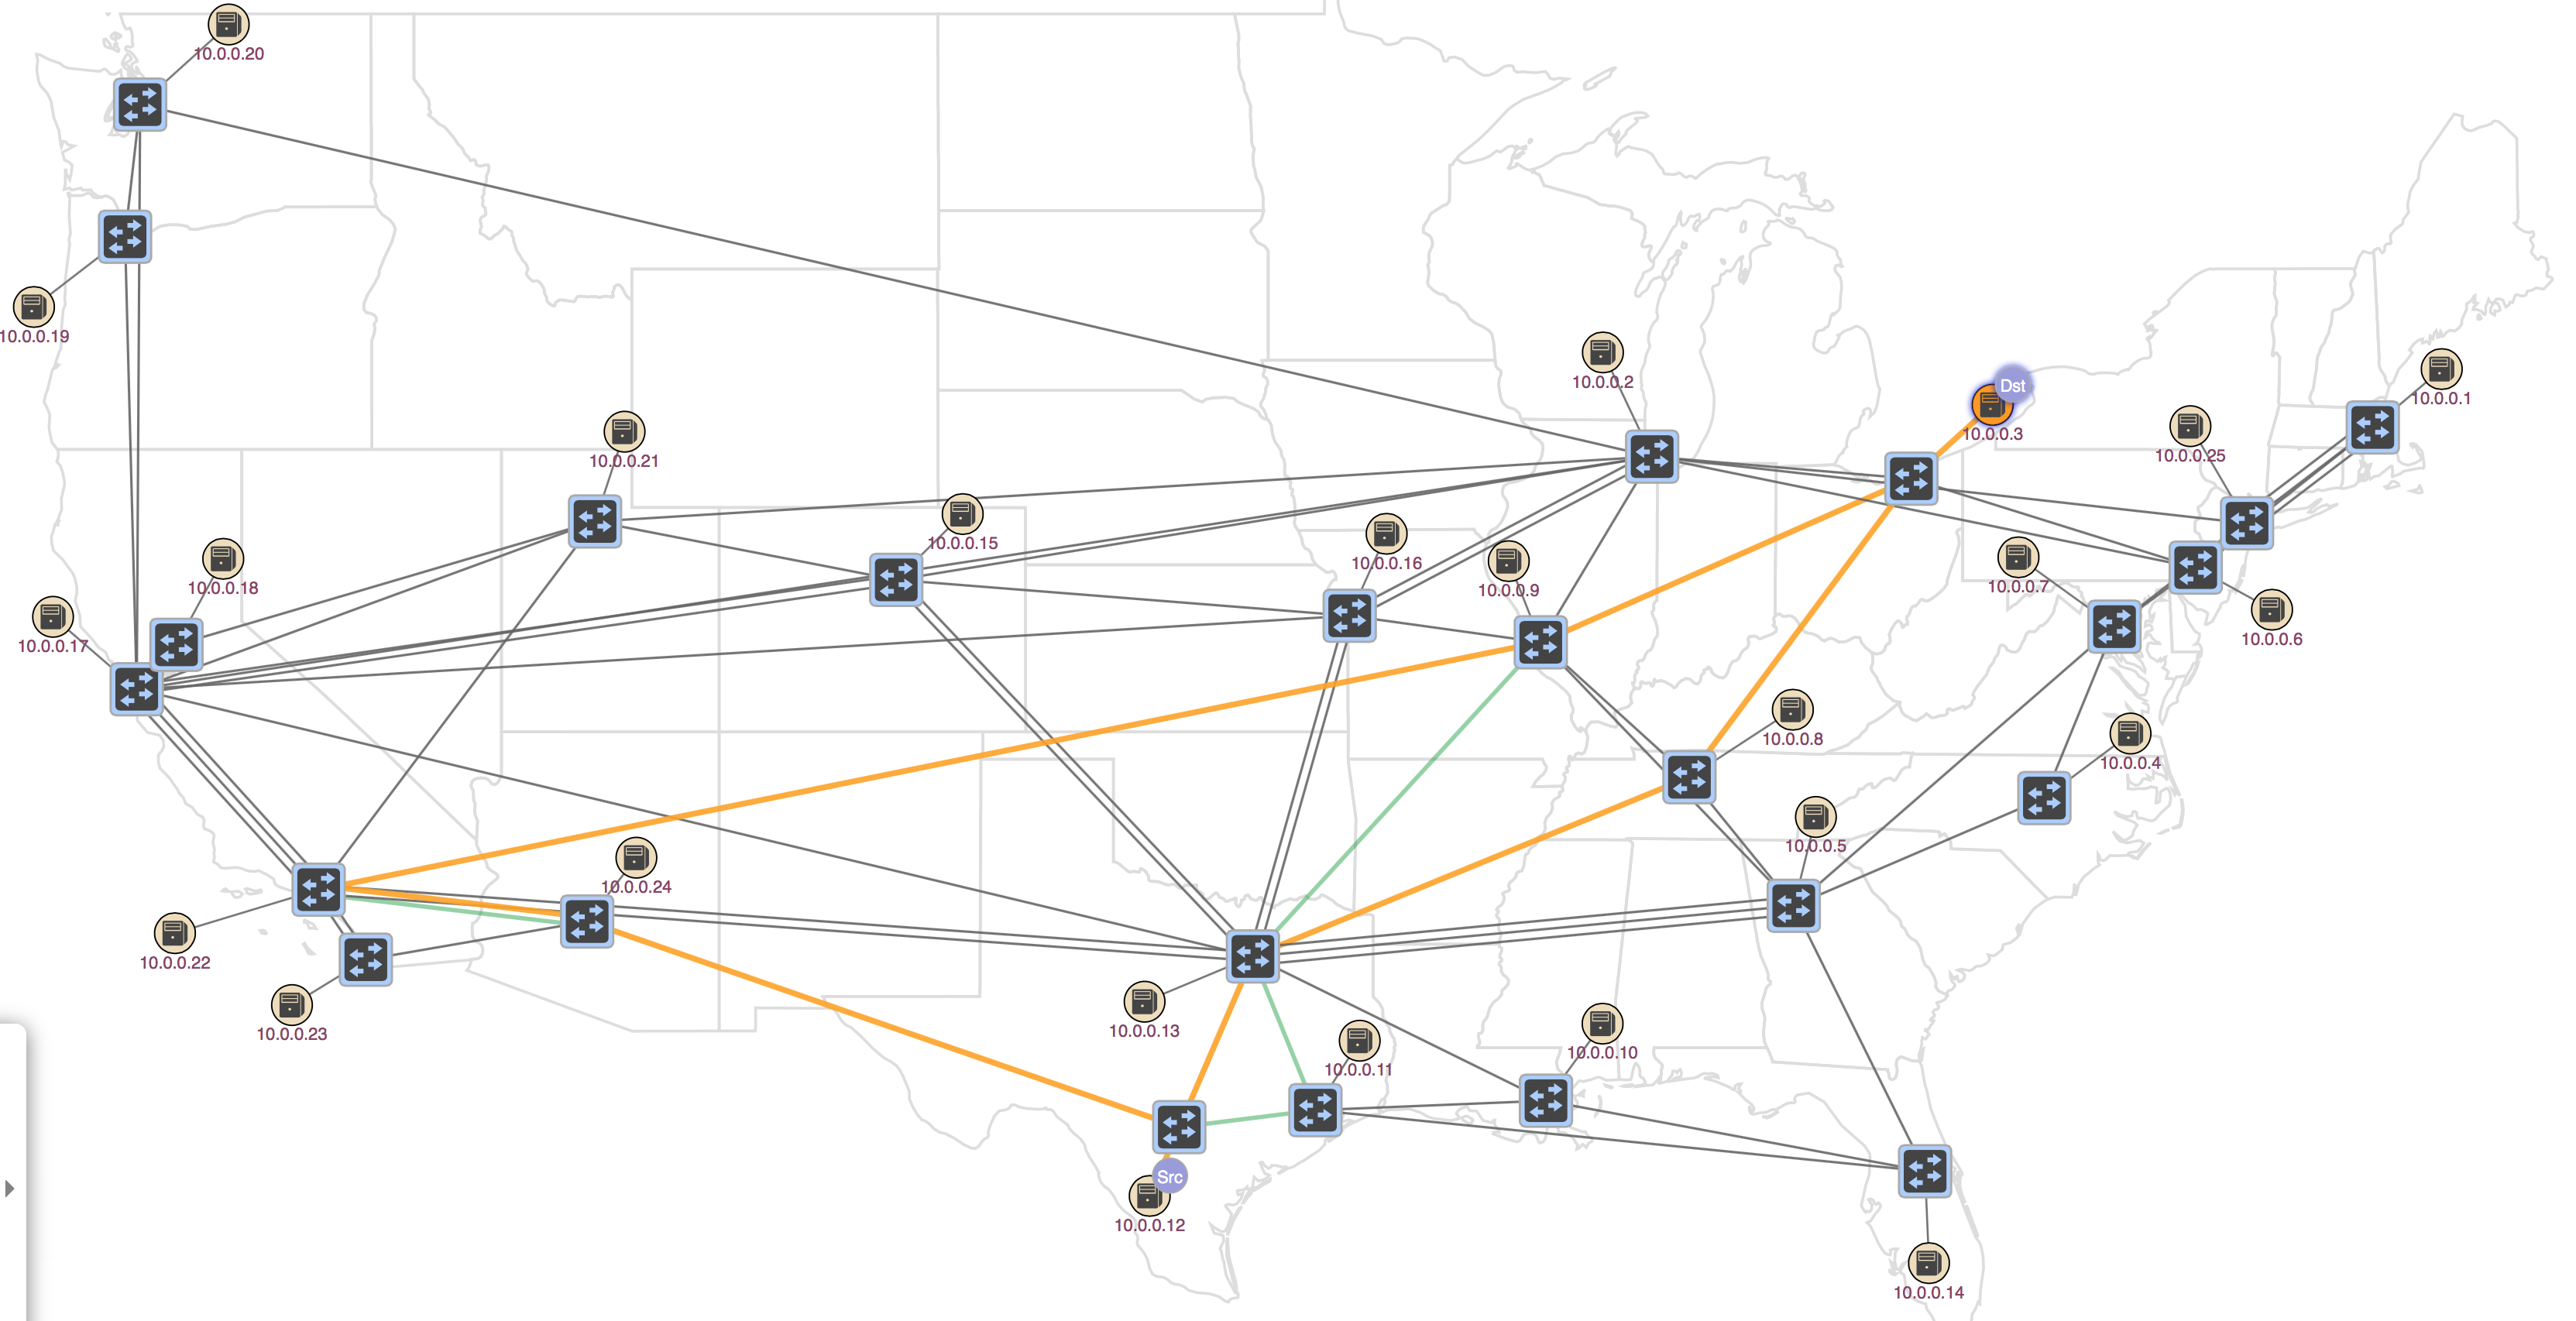
The PathPainter application allows the user to see the different type of paths between two entities in ONOS, regarding of their type.
The application has three different modes for three different type of paths:
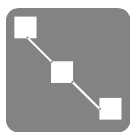
- shortest were the shortest paths between the source and the destination are highlighted
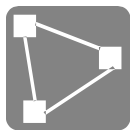
- disjoint were the disjoint paths between the source and the destination are highlighted
- geoPath where the geographically shortest path is highlighted.
Application Key bindings
While in the PathPainter application there are different key mappings and buttons for different functionalities.
| Button | Key | Functionality |
|---|---|---|
 | 1 | Set source device |
 | 2 | Set destination device |
| 3 | Swap source and destination device | |
 | 4 | Set the path computation to shortest |
 | 5 | Set the path computation to disjoint |
 | 6 | Set the path computation to geoData |
 | Right arrow | Go to the next path in the set of paths from source and destination |
 | Left arrow | Go to the previous path in the set of paths from source and destination |
Usage
In order to use the PathPainter application you need to have onos installed and configured. In the ONOS console you should first start the gui:
$: onos-gui
Once the GUI is stated up in your browser you should activate the pathpainter app by opening the left-side panel, going to applications, findin org.onosproject.pathpainter and cliking activate button on the upper-right side corner.
You can than return to the topology view and open the toolbar panel in the bottom left side of the screen by pressing the dot key.
Once you have the toolbar open you should see the pathPainter Icon (todo insert top icon). Clicking on the Icon will activate the application GUI overlay.
Once you have the overlay active you can select an Element and set it, though the button or the 1 key. as the source from which you want to see the paths. The selected element should now have a "Src" badge. Once you do the same thing with another host and select it as the the destination, "Dst" badge, you will see some highlighted paths. If you have not changed previously the mode it will be shortest by default.
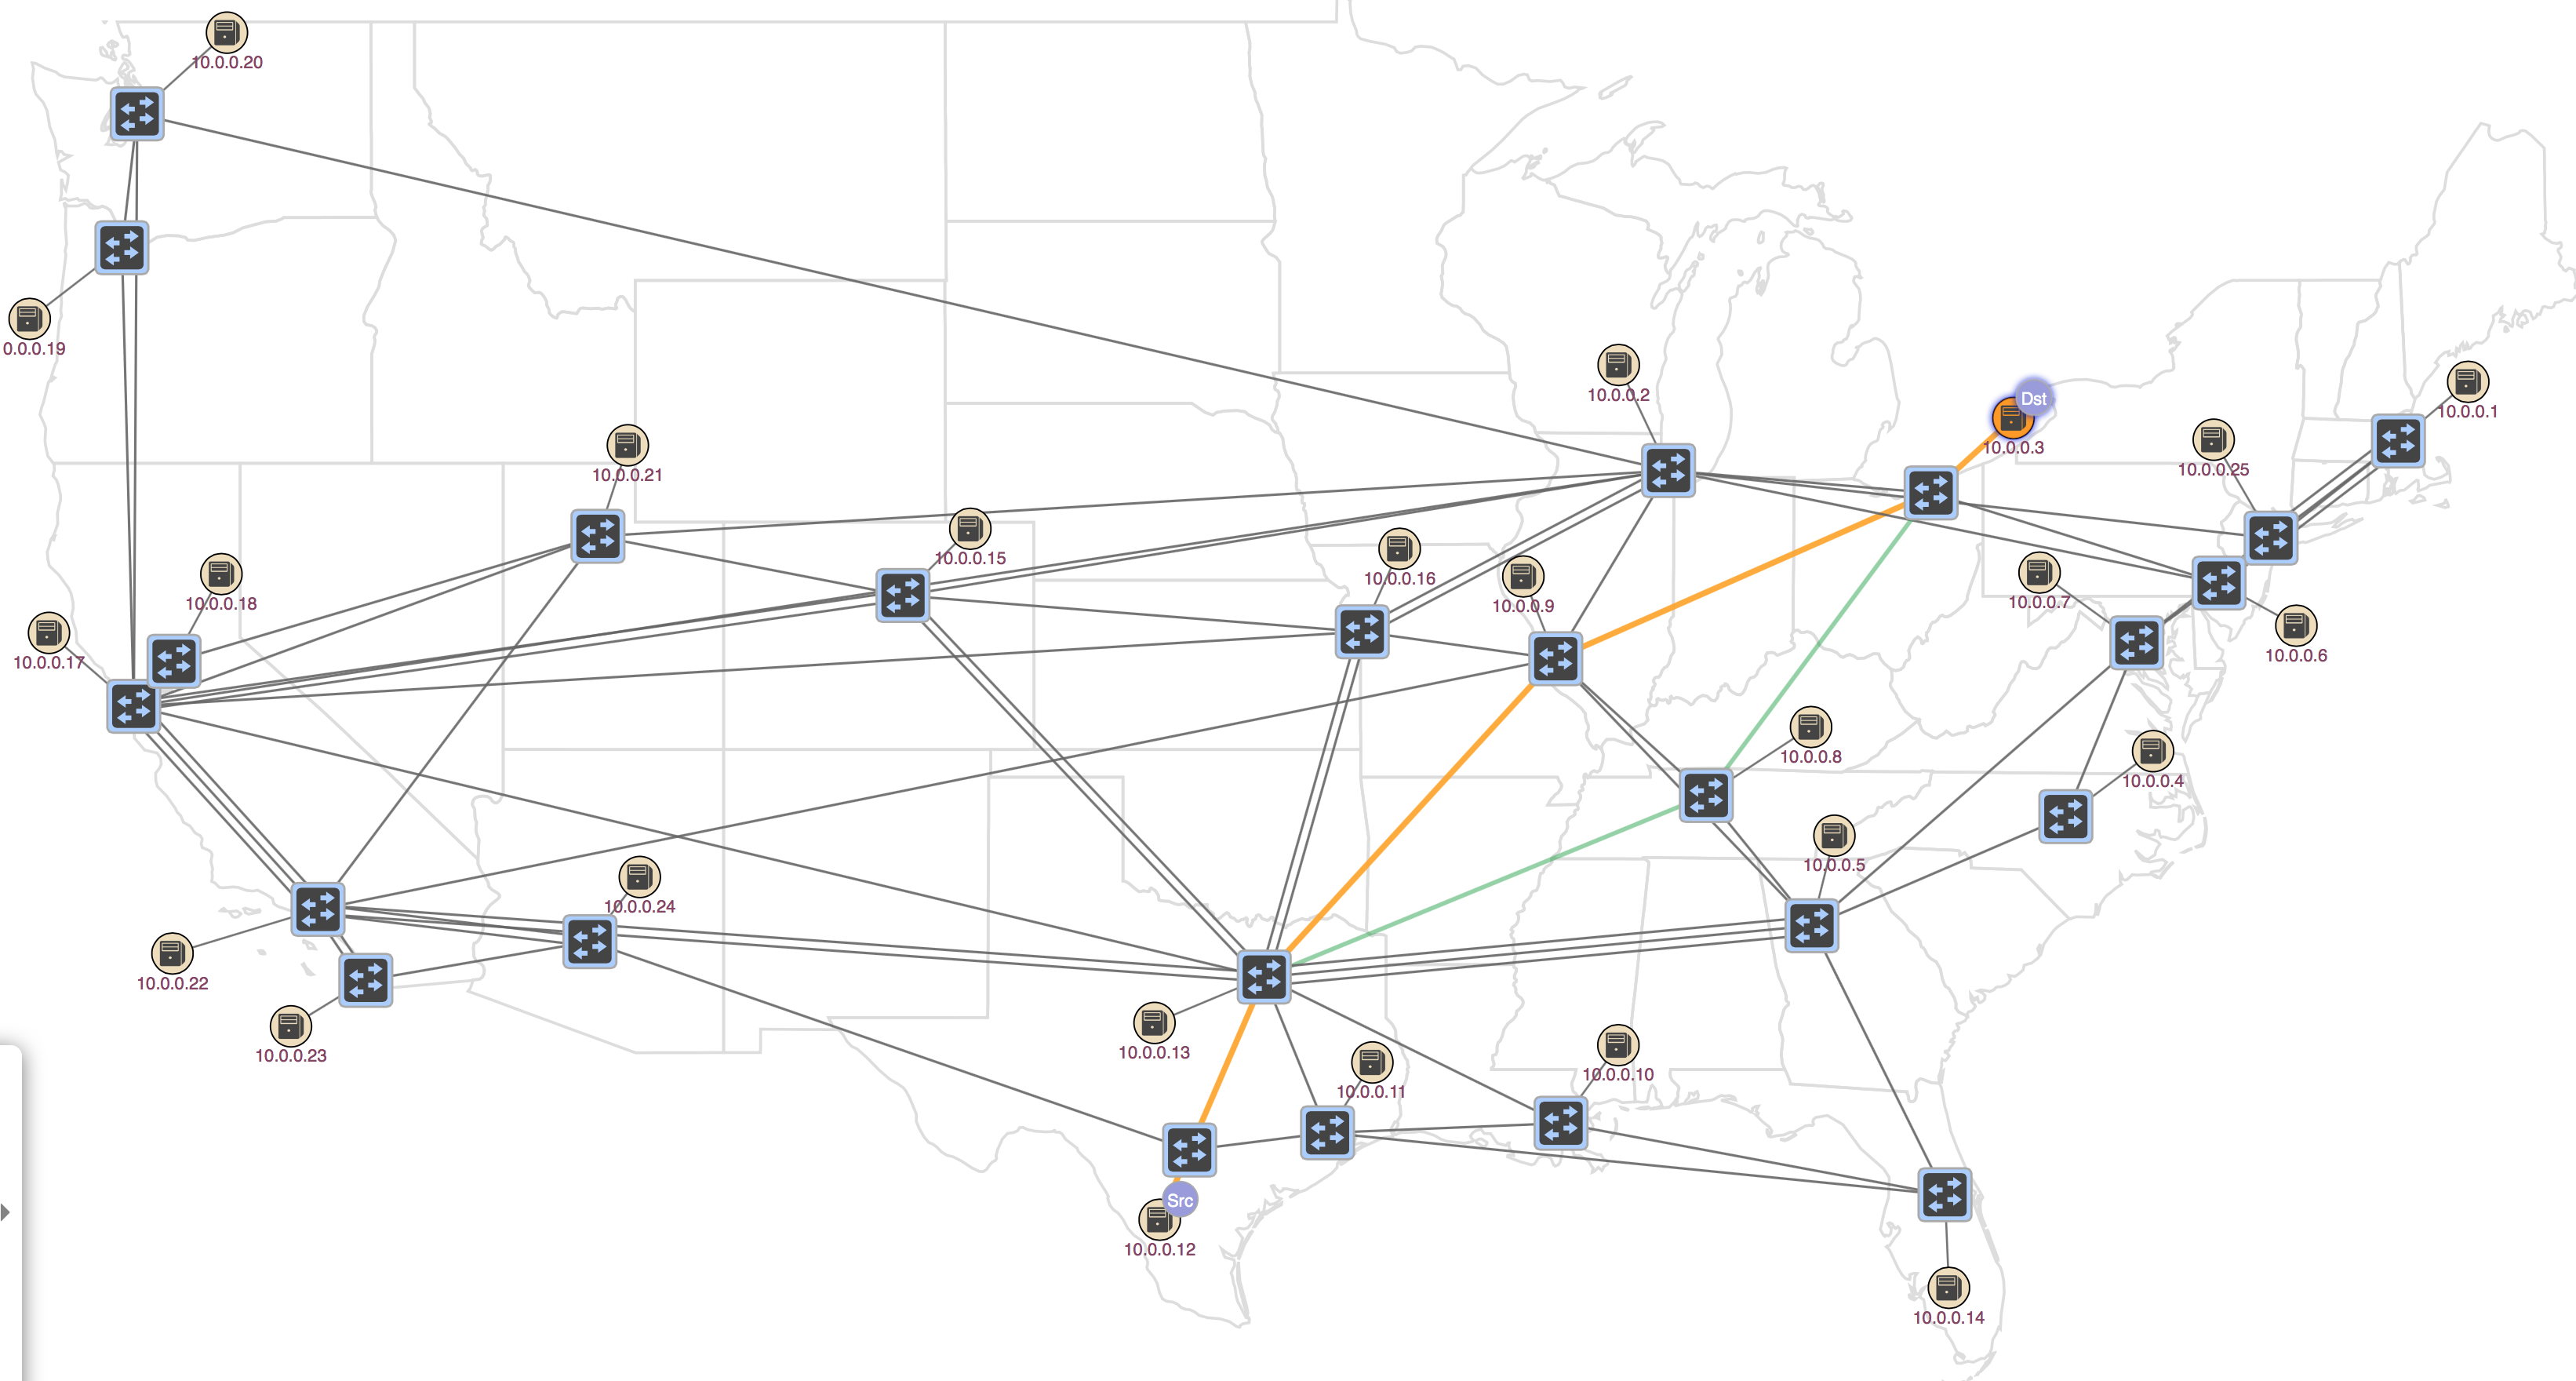
The paths will be highlited in two colors, yellow for the current primary path and green for all the others paths between the two elements. Now you can circle between the paths with the correct buttons or the keyboard arrows.

When you select a different mode you can see that the highlighted paths change, in this case we selected disjoint paths mode.