Due to a ransomware attack, the wiki was reverted to a July 2022 version. . We apologize for the lack of a more recent valid backup.
This section covers development and test environment setup and configuration.
This page assumes that the reader has successfully followed Installing and Running ONOS.
IDE Setup
The project does not enforce the use of a specific IDE, but rather, a set of guidelines that can be configured in an IDE. As such, developers should consult the documentation for the IDE of choice for specific configuration steps.
The examples used here, if any, are either for Eclipse and IntelliJ.
Importing ONOS Source
If your IDE supports the importing of projects, ONOS should be imported as a Maven project.
In Eclipse, this amounts to:
- navigate to File > Import > Maven > Existing Maven Projects and
- selecting the root directory of your source.
As ONOS is a multi-module project, it may appear as a collection of many (about 50 at the time of this writing) projects beginning with "onos-". This is normal for some IDEs such as Eclipse.
For a listing of the software modules that comprise ONOS, please refer to the [Javadocs], or [Appendix C] of this Guide.
Code Formatting
The formatting followed by the project are:
- Indentation using four spaces
- No trailing whitespaces, including in empty lines
- Spaces after keywords such as
if,for,while, and casts
The whitespace formatting, among other code styling, is enforced via Checkstyle, which is run against the code during each Maven build. The build will fail if formatting violations are found.
The full guidelines are found in the Code Style Guidelines.
Copyright
Prior to contributing code to ONOS, all developers should set-up their IDE to appropriately tag the code with the Apache 2 license header text. The bare text is checked in under tools/dev/header.txt, and the original can be found at:
http://www.apache.org/licenses/LICENSE-2.0.html
Example: Copyright setup on IntelliJ
First make sure that you have the Copyright plugin enabled. Then, under Preferences, select Copyright section and create a new Copyright profile, call it something like Apache 2, and prime it with the text above, without any decorations. Then configure your copyright formatting options as shown:

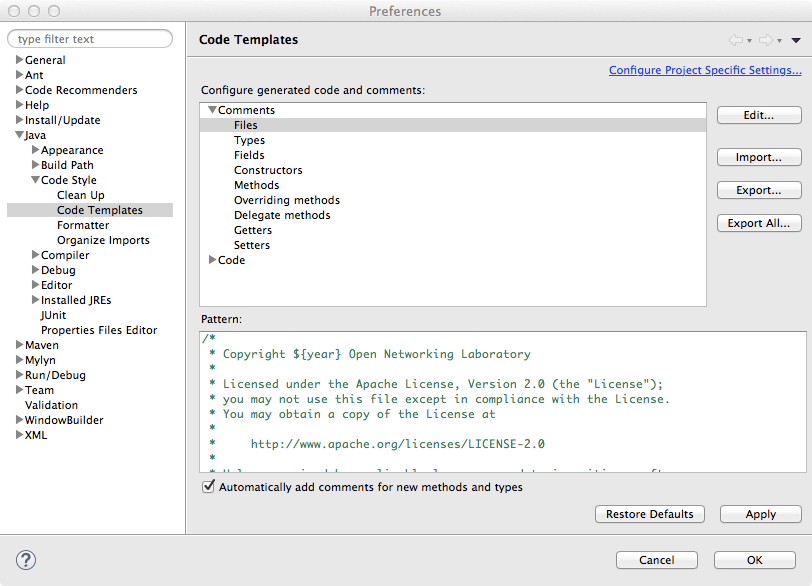
Example: Copyright setup on Eclipse
Configure the Comments for Files similar to the following.
Remember to put a check on "Automatically add comments for new methods and types" to apply these templates on new files.
Git/Gerrit Setup
Configuring Gerrit
Prospective contributors should configure their account to receive notifications about their code submissions. The Settings page is accessed from the user dropdown on the upper right of the page:

To configure contacts by going to Contact Information, and filling out the fields, and hitting Save Changes :

To subscribe to the project, go to Watched Projects and enter onos-next in the Project Name field of the page. Hitting return should add onos-next to a table under the search field:

As shown above, email notifications are also configured from here by checking off the types of notifications to receive.
Configuring git
Developers planning to contribute code should configure git with their username and email.
git config --global user.name "firstname lastname"
git config --global user.email "email@domain.com"
To streamline the code review process, it is highly recommended that contributors set up git-review, which integrates code submission with git. Refer to this link for instructions for setting up git-review.
git-review + Mac
If you're using a Mac, you may need to manually upgrade the git-review package dependency. (git-review bug#1337701)
$ sudo pip install --upgrade setuptools
$ sudo pip install --upgrade git-review
Building API Docs
To build a local set of the ONOS Java API documentation bundle, use the onos-build-docs utility, which uses Maven to generate both internal and external documentation.
Running onos-build-docs from any location generates HTML pages under ONOS_ROOT/docs/, and can be accessed by pointing a browser to ONOS_ROOT/docs/target/site/apidocs/index.html .
The generated documentation is also wrapped into a gzipped tar archive and placed under /tmp with the naming convention onos-apidocs-<onos-version>.<user>.tar.gz.
Home : Developer's Guide
Next : Test Environment Setup