Due to a ransomware attack, the wiki was reverted to a July 2022 version. . We apologize for the lack of a more recent valid backup.
This section describes how a user may set up the packet optical use case, or by extension, a multi-layer network topology. One of the key drivers for this use case is that network designers can spin up a relatively large emulated packet-optical network on their personal computer.
Installation
You should start with a fresh install of Ubuntu Server. Alternatively, you can start with the Mininet VM; this way you can skip the first step in following instructions.
- Install Mininet, for instance using the Native Installation from Source approach; this installs a lot of useful extra packages such as Wireshark and OpenFlow dissectors.
Install, configure and build LINC Switch: https://github.com/FlowForwarding/LINC-Switch
$ cd
$ git clone https://github.com/FlowForwarding/LINC-Switch.git linc-oe
$ cd linc-oe
$ sed -i s/3000/300000/ rel/files/vm.args
$ cp rel/files/sys.config.orig rel/files/sys.config
$ make rel
$ cd
Install LINC-config-generator: https://github.com/FlowForwarding/LINC-config-generator
$ cd
$ git clone https://github.com/FlowForwarding/LINC-config-generator.git
$ cd LINC-config-generator
$ cp priv/* .
$ make
$ cd
Clone ONOS and compile the oecfg application (this requires you have installed Java 8 and Apache Maven; go here for instructions on how to do that).
$ cd
$ git clone https://github.com/opennetworkinglab/onos
$ cd onos/app/oecfg
$ mci
$ cd
Instantiate Multi-Layer Topologies
The ONOS source tree comes with two example scripts that create a multi-layer topology. These can be found in onos/tools/test/topos/ and are called opticalTest.py and opticalTestBig.py.
First, make sure the ONOS_ROOT environment variable is set. The easiest way is set it in your cell definition, this way you'll also get OCx environment variables that point to your ONOS instances. Then, to create spawn a large packet-optical topology, run the following command (note the -E parameter passed to sudo which preserves the environment variables):
sudo -E onos/tools/test/topos/opticalTestBig.py $OC1 $OC2 $OC3
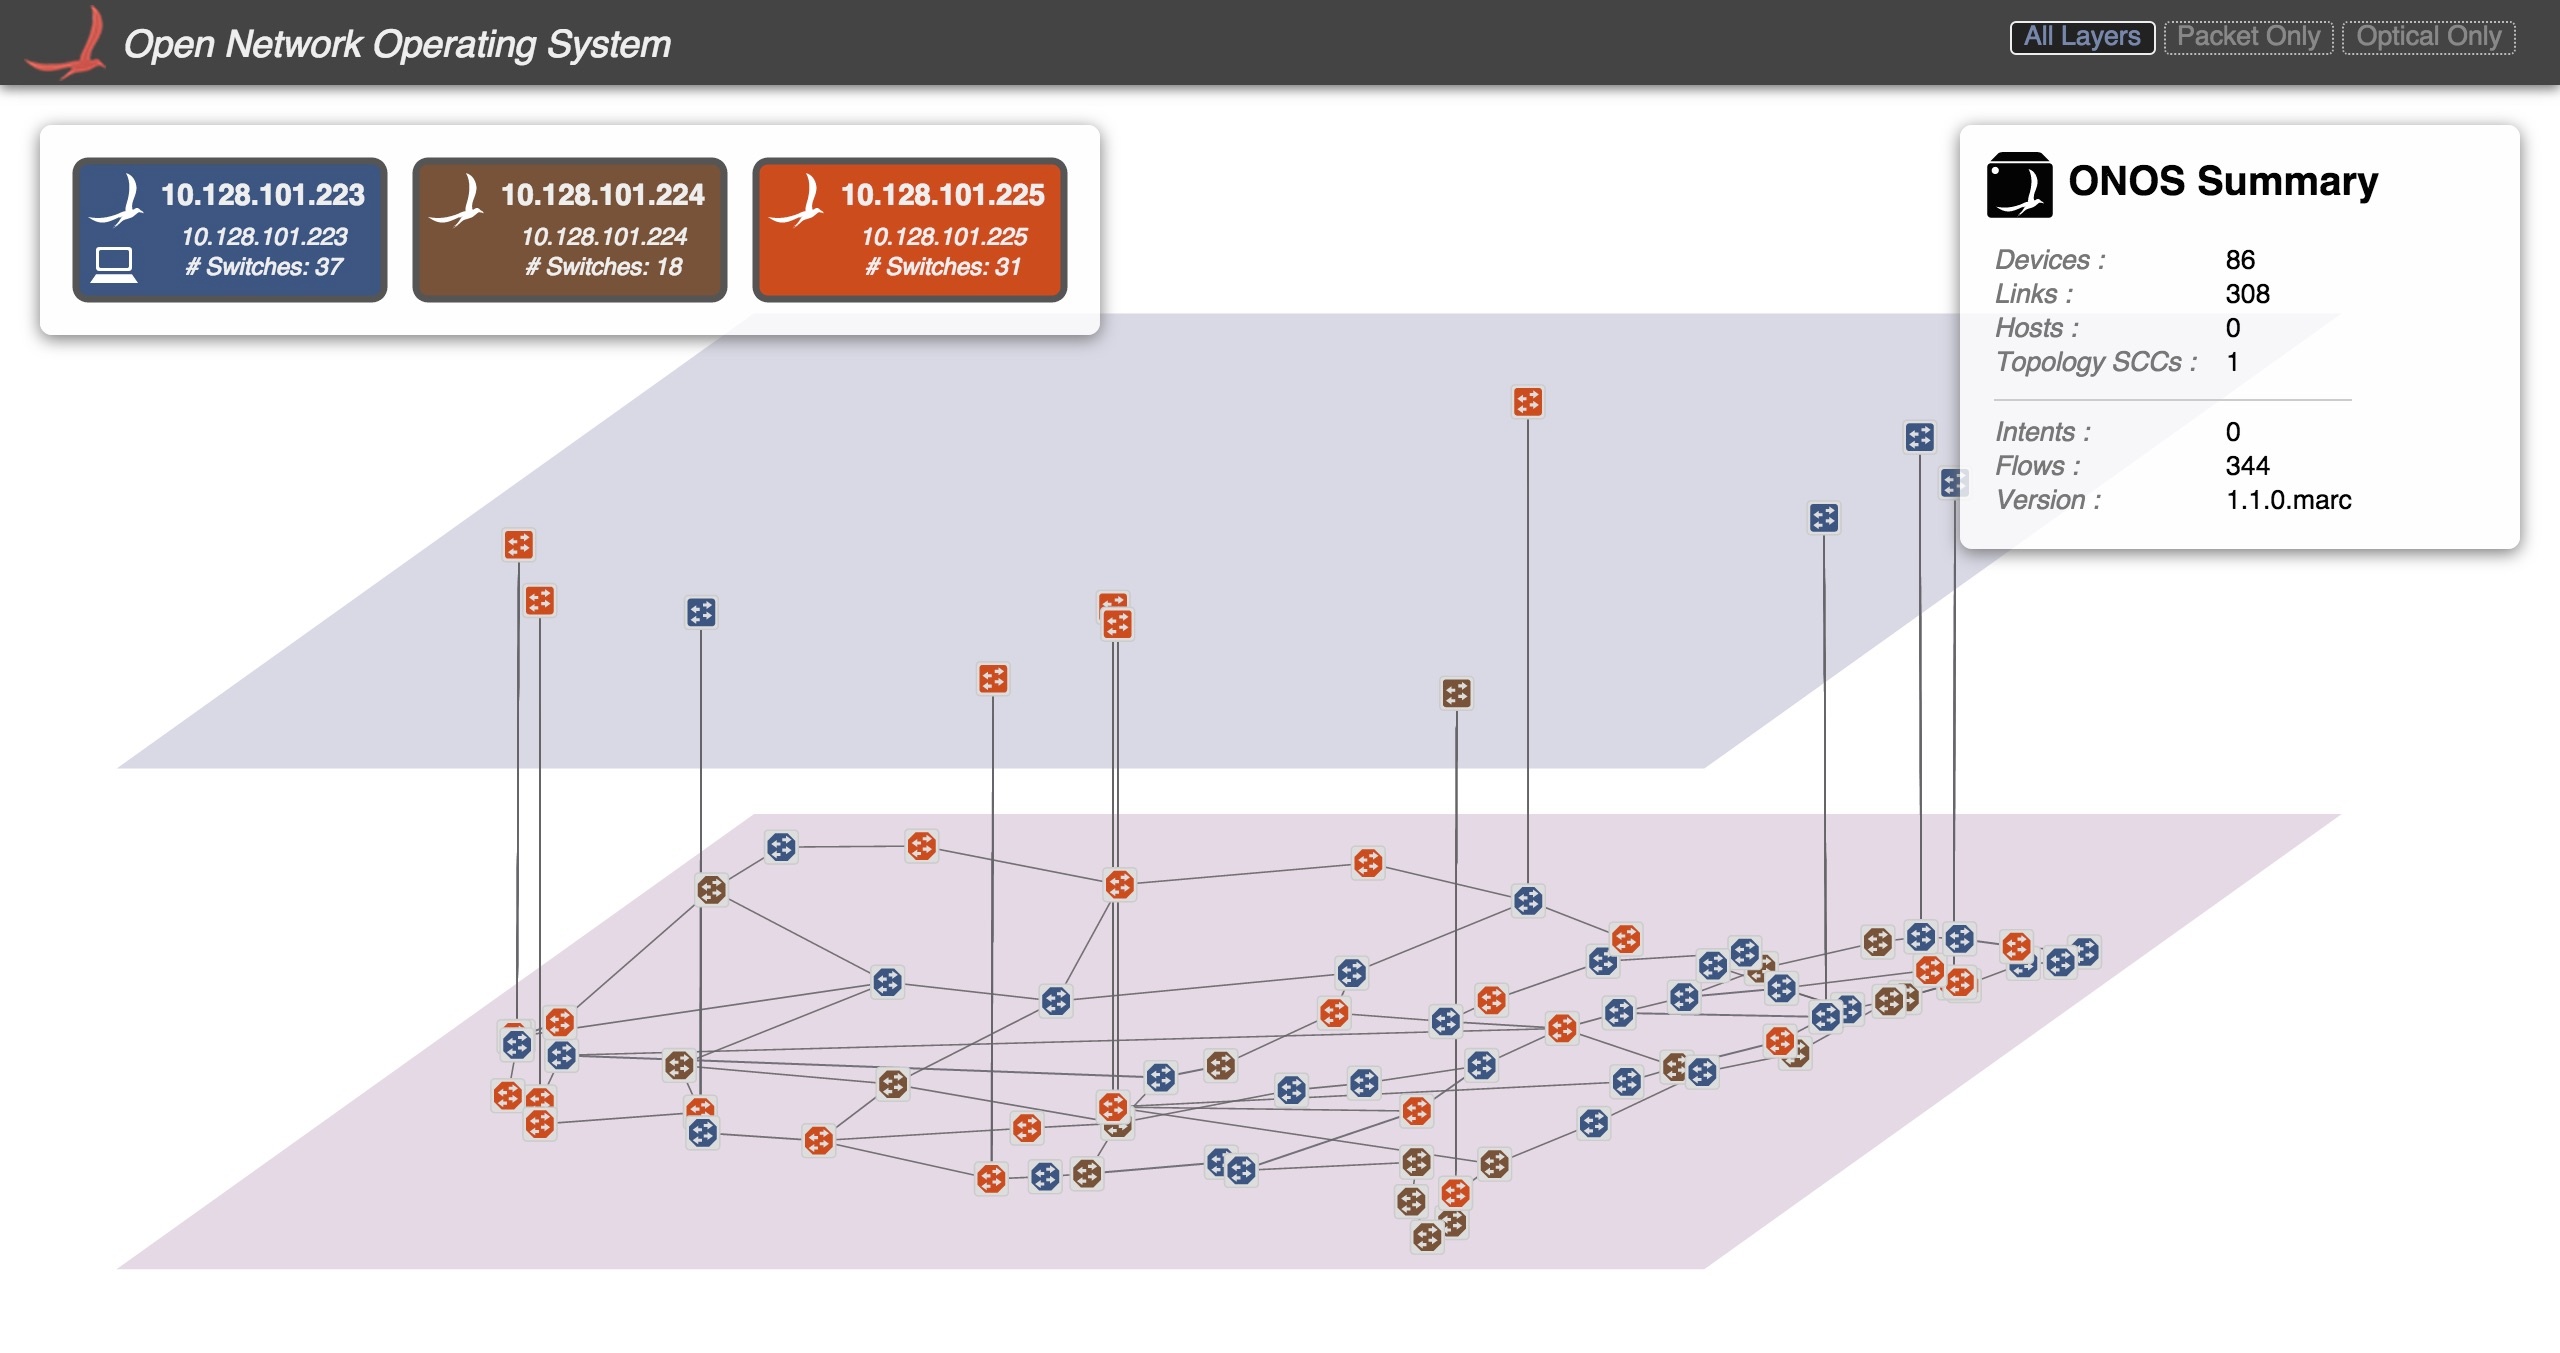
In this example, three ONOS instances are running. The script will ensure all switches (both packet and optical) will be configured to use these three instances as their OpenFlow controller.
LINC Optical ROADM Emulation Commands
You can attach to the console of a running LINC instance as follows:
$ sudo linc-oe/rel/linc/bin/linc attach
In the LINC console, the following commands are available.
| Command | Description |
|---|---|
| Get running config |
linc_logic:get_datapath_id(SwitchId). | Get DPID of logical switch |
linc:stop_switch(SwitchId). | Stop logical switch |
| Disable port |
linc:port_up(SwitchId, PortId). | Enable port |
linc:ports(SwitchId). | List ports on logical switch |
linc_us4_oe_flow:get_flow_table(switchId, tableId). | Get flow table of logical switch (use tableId 0) |
Packet Router Emulation Description:
OVS from (provide link : open source) is used by Mininet to emulate packet routers and switches. The packet switches are directly attached to hosts, which represent customers or data centers. In addition, the emulated packet switches are interconnected with optical ROADMs for transport. As shown below, the OpenFlow match/action tables for the ROADMs can be represented by cross-connecting the lambdas to establish paths at optical layer.
ROADM Description:
As shown below, the optical ROADMs represent the service provider's transport networks. The IP routers are connected physically to the ROADMs, and the chain of ROADMs establish the transport topology.
The ROADMs are responsible for passing all of the traffic through their cross connected optical paths.
Prerequisite & POC Environment:
Before spin off of your specific POC, you need to make sure your desktop or server platforms are properly configured. Specifically, we at ON.LAB initially created the following environments
Installed a Virtual Box,
We installed Ubuntu VMs for Mininet, Erlang, Linc-OE, Linc-Config-Generator, ONOS, and Calendaring App.
The following diagram represents a very simplified environment for POCs. Both ONOS and Mininet are communicating to the network devices. Mininet as orchestrator for creating topology that includes switches, hosts, and link and tap interfaces will be used extensively for manipulating the POC environment and behaviors. For example you will utilize the Mininet to inject failures and or send traffic between hosts.
Installation Packet-Optical Emulation
Running Sample Topologies:
We have create a small and large topology as a sample POC. Small topology represents 10 ROADMS, and 6 packet switches and hosts representing data centers.
The bigger topology ( under construction) represents 74 ROADMS and elven packet switches and related hosts.
Users are encouraged to modify the sample topology files (1- opticalTest.py , 2- opticalTestBig.py ) to meet their own network POC needs.
Setup Your Desktop Environment for Optical Layer:
- Install Virtual BOX
- Install Virtual Ubuntu
- Install Mininet
- Install Erlange
- Install libpcap-dev
- Install Wireshark
Create Optical Emulated Topology
- Install Lin-OE
- Install Loom Controller
- Install Mininet
Critical Files:
Sys.config in the linc-oe Directory Optical Topology
Packet+Optical.py in mininet directory ( Creates packet topology, and attached the OVS to optical Transponder ports
Procedures:
To start the POC with made assumptions that you have already updated opticalTest.py. This script creates your emulated topology and starts appropriate components
such as Topology file, sys.config etc, and then moves the final configuration of optical layer as sys.config: ‘sys.config’ -> ‘/home/onos/.local/share/Trash/files/link-oe/linc-oe/rel/linc/releases/1.0/sys.config’
Then starts linc-oe and then pushes the JSON topology file to ONOS.
This scripts also assumes that ONOS has already started.
To start ONOS
See how to start ONOS and ONOS-GUI
References:
- How to start ONOS Guide:
- LINC-OE-Guide
- LINC-Config-Generator-Guide
- Mininet.org
- OpticalTest.py sample topology for 10 ROADMs, and 6 Packet nodes.
- OpticatTestBig.py sample topology for 74 ROADMs, and 11 Packet nodes.
Installation Script (TBD)
This scripts has not been developed yet, but the goal should be for the script to check the environment and then clone the necessary VMs including Mininet, ONOS, linc-oe, configuration generator, and BW calendering.
Follow the latest Linc-OE Guide to clone the latest code for link-oe, and config-Gnerator.
Follow the Mininet.org to install Mininet
Mininet + LINC-OE VM
Note: This VM is available on from the build server: smb://buildsrv/onos from within the office. It is called: onos-mn-linc.ova
Usage:
The user is sdn and the password is rocks
Starting a converged topology
The topologies are located in ~/topos (/home/sdn/topos)
Start the topology with:
sudo ~/opticalUtils.py [<controller IP>+] #leave black for localhost
Optional: Starting ONOS
If you would like to run ONOS from the vm, then you should run the following from a separate terminal window:
/opt/onos/bin/onos-service
Re-pushing the topo after ONOS restart
~/onos/tools/test/bin/onos-topo-cfg 192.168.56.1 Topology.json
Building the VM from Scratch
Prerequisites
Start with the onos-mn.ova VM image
Install Erlang
wget https://packages.erlang-solutions.com/erlang-solutions_1.0_all.deb
sudo dpkg -i erlang-solutions_1.0_all.deb
rm erlang-solutions_1.0_all.deb
sudo apt-get update
sudo apt-get install erlang
Optional: Verify the install
erl
1> erlang:system_info(otp_release). #should be 17
<Ctrl-c> x2 # to exit
Install Java 8
#https://www.digitalocean.com/community/tutorials/how-to-install-java-on-ubuntu-with-apt-get
sudo apt-get install -y software-properties-common
sudo add-apt-repository ppa:webupd8team/java
sudo apt-get update
sudo apt-get install oracle-java8-installer
Optional: verify the install
sudo update-alternatives --config java
sudo update-alternatives --config javac
# set JAVA_HOME
# export JAVA_HOME=/usr/lib/jvm/java-8-oracle
Install linc-oe
cd ~
git clone https://github.com/shivarammysore/LINC-Switch.git linc-oe
cd linc-oe
git checkout 0.10
# increase the vm.args for larger topologies
# change ERL_MAX_ETS_TABLES from 3000 to 300000
vi rel/files/vm.args
# set up first sys.config
cp rel/files/sys.config.orig rel/files/sys.config
# build
make rel
Install linc config generator
# get the code
cd ~
git clone git@github.com:bpraseed/LINC-config-generator.git
cd LINC-config-generator
git checkout tags/oe-0.4
# build
make
Install ONOS dependencies
# we need
## mvn install
#/home/sdn/.m2/repository/org/onosproject/onos-app-oecfg/1.0.0/onos-app-oecfg-1.0.0.jar
## wget
# /home/sdn/onos/tools/test/bin/onos-topo-cfg
# /home/sdn/onos/tools/test/bin/onos-oecfg
#https://raw.githubusercontent.com/opennetworkinglab/onos/1.0.0/tools/test/bin/onos-oecfg
Configure ONOS
vi /opt/onos/apache-karaf-3.0.2/etc/org.apache.karaf.features.cfg
# add onos-app-optical to features
# change onos-core to onos-core-trivial
# TODO onos service, which is stopped, but can be started by mininet
Return To : Packet Optical
Home : ONOS Use Cases